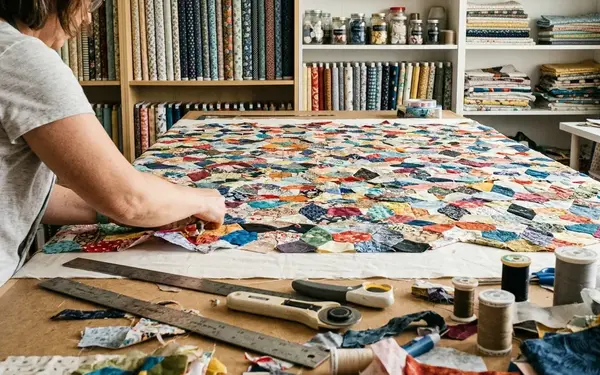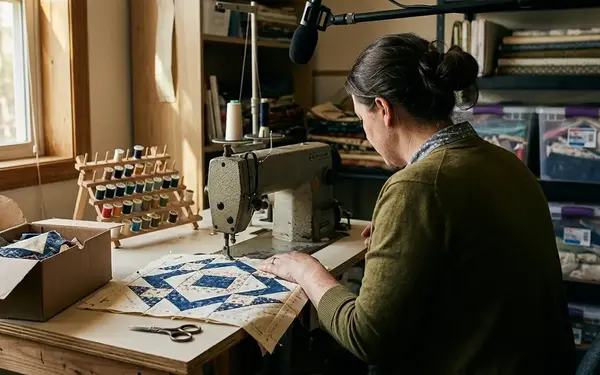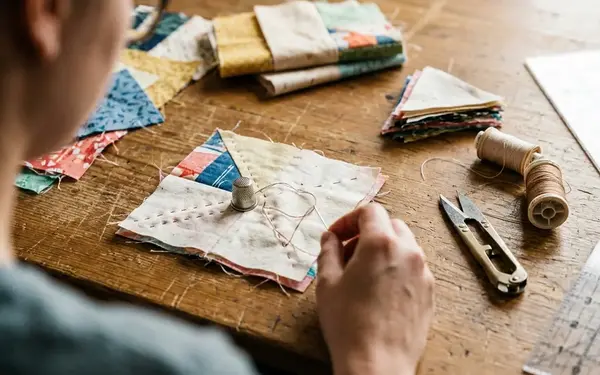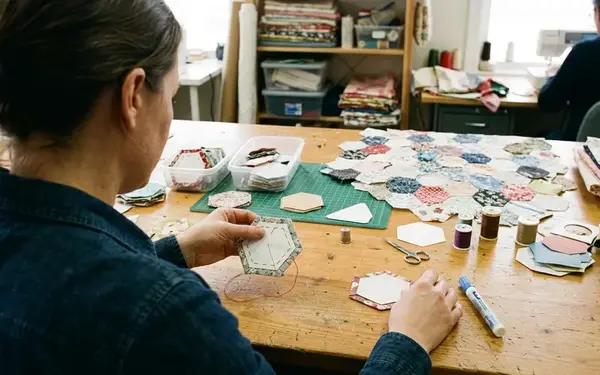
Welcome to the cutting table. Grab a cup of tea, settle into your sewing space, and let's talk about isolating the perfect motif. Motif selection starts with the block you have in mind, not the prettiest print on the shelf. We demand a lot from our fabric when we decide to slice it up and rearrange its geometry.
The Evolution of Fussy Cutting and What Matters Now
Fussy cutting developed around the late 1700s through early 1800s as a method of isolating printed chintz motifs for appliqué. Quilters practicing Broderie Perse would carefully cut recognizable flowers, birds, and urns from expensive chintz and arrange them on solid backgrounds. They focused entirely on the outer silhouette of the shape.
Modern English Paper Piecing (EPP) relies on geometric precision rather than simple appliqué. We are building complex, interlocking structures. A six-piece hexagon rosette needs six matching motif placements. An eight-point design needs eight, plus one additional repeat when a test cut or replacement piece is prudent. Success comes down to four things: scale, spacing, directionality, and contrast.
For a quarter-inch seam allowance, the selected image must remain legible at least 1/4 inch inside every cut edge because that outer margin disappears during piecing. If the critical part of the design bleeds into that margin, the entire visual effect collapses when the block is sewn together.
Decoding Motif Scale and Spacing on the Bolt
A motif must fit entirely within your acrylic template, including the crucial quarter-inch seam allowance. Trace the outside edge of the cutting template, not merely the finished paper piece, and place that outline over the motif. Follow the outline around every corner to confirm that petals, faces, wing tips, or geometric points stay safely inside the boundary.
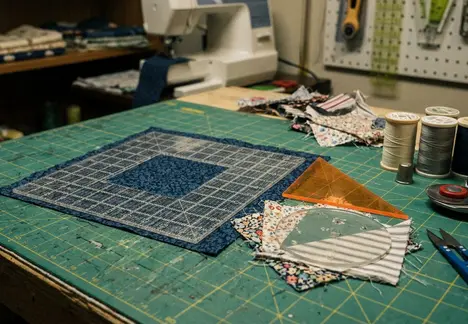
A large bird may fit inside the acrylic template yet still fail after sewing because its beak crosses the 1/4-inch seamline. Centering alone does not make the cut usable. When the paper shape excludes the seam allowance, add 1/4 inch beyond each edge before evaluating the print. A motif spanning 2 inches horizontally generally needs a clear cutting envelope of at least 2 1/2 inches across.
Motifs printed too closely together will bleed into adjacent cuts, ruining the isolated effect. On quilting cotton with roughly 40 to 42 inches of usable width after excluding selvages, count only motifs whose complete cutting envelopes sit inside that usable area. Leave at least 1/8 inch of visually quiet space between the important part of the motif and the future seamline when a crisp floating effect is desired.
While large-scale prints offer dramatic kaleidoscopic effects, they inherently limit the number of identical cuts per yard, requiring a larger upfront fabric investment.
Pattern Drafting Allowances
The quarter-inch calculations apply to projects drafted with a standard 1/4-inch seam allowance. Use the pattern's stated allowance when it specifies another width, adjusting your cutting envelope measurements accordingly to ensure the motif remains fully visible.
Navigating Directionality and the Pattern Repeat
The pattern repeat dictates how much yardage you need to capture six or eight identical motifs for a block. Two prints with the same motif size can produce very different yields. A tossed floral may supply several orientations across the width, while a one-way figure may provide matching copies in just one usable direction.
To find the true repeat, expose at least 18 inches from the bolt. Mark a recognizable reference point, such as the center of a flower or the tip of a bird's beak. Find the next identical point along the length and measure point to point, keeping the ruler parallel to the selvage. If no full repeat appears, keep unrolling to 24, 30, and then 36 inches rather than estimating from the folded layers.
One-way directional prints complicate kaleidoscopic designs, as the motif will appear upside down on half of your shapes. Tossed or multi-directional prints offer the most versatility and the highest yield per yard. This becomes especially apparent when studying the complex layouts popularized by Willyne Hammerstein, author of Millefiori Quilts, where multi-directional symmetry is paramount.
The math requires careful attention. For eight required cuts with two usable motifs across the width, plan for four complete repeat rows. With a 10-inch lengthwise repeat, that means 40 inches of repeat coverage before accounting for the position of the first complete motif and trimming. A motif that is complete in three positions across the width but clipped at the fourth has a usable crosswise yield of three, not four.
Assessing Contrast and Background Interference
High contrast between the primary motif and the background fabric ensures the shape remains distinct once pieced. Muddy or low-contrast backgrounds cause the fussy-cut design to lose its impact when joined with other fabrics.
Consider the approach of Laura Samulionyte, an audio editor. She isolates individual audio tracks to check for background interference before mixing them into a complex soundscape. We apply the exact same principle to fabric. Isolate one repeat through the template window, then step back six or eight feet and identify what the eye notices first. View the isolated motif from that distance, and then at normal hand-sewing distance, somewhere around a foot to a foot and a half away.
If the primary flower, animal, or medallion remains distinct, inspect the future seamline. Mark the seamline 1/4 inch inside the cut edge. Printed details outside that line will be hidden or folded under. Secondary patterns emerge only when the edges of high-contrast motifs meet perfectly at the seams. For a six-piece rosette, compare all six seam junctions rather than judging a single centered motif, because the secondary pattern is created where neighboring edges meet.
Your Next Fabric Shopping Strategy
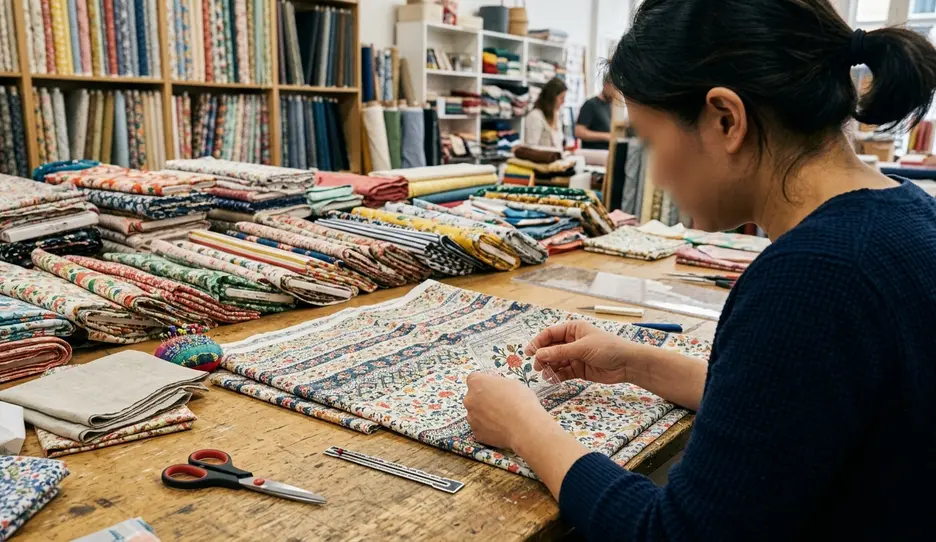
Do not rely on visual estimation when standing in the quilt shop aisle. Create a viewing window by cutting your exact template shape out of a piece of opaque cardstock. Take this cardstock window to the store and place it directly over the fabric on the bolt to isolate the motif.

Make the viewing tool from opaque cardstock before visiting the shop. Roughly half a millimeter of thickness works well: the window stays flat while remaining easy to cut with a craft knife. Trace the exact outer perimeter of the acrylic cutting template and cut out the center to create a window. Draw a second line 1/4 inch inside the aperture to show the stitched boundary and the portion expected to remain visible.
Chelsea, who owns Pink Door Fabrics, keeps records of her yardage cutting, and those records point to one habit above all: writing down motif width, motif height, and lengthwise repeat before calculating yardage prevents costly shortages. Record these dimensions and the usable copies across that 40-to-42-inch fabric width before you ask the shop staff to cut your yardage.
Bolt-Side Fussy-Cutting Check
- Place the cardstock window over one complete motif.
- Confirm that the important image stays inside the 1/4-inch inset seamline.
- Inspect every corner for neighboring leaves, stripes, text, or color patches.
- Move the window across the width to count how many complete, unclipped motifs fit within that usable space.
- Check at least six placements for a hexagon rosette or eight for an eight-piece block.
Cut your cardstock window tonight. Trace your acrylic template, slice out the center with a fresh craft blade, draw your quarter-inch inset line, and drop the tool into your shop tote so it is ready for your next fabric run.