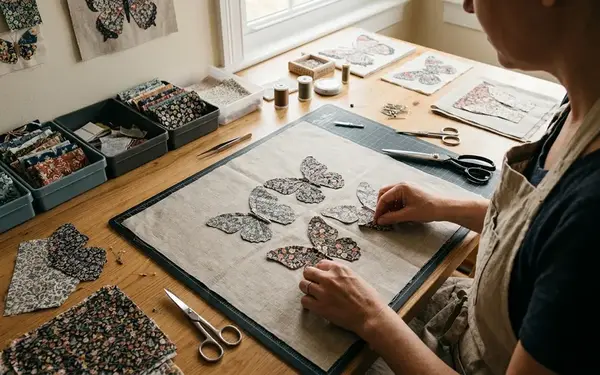
Welcome to the club! Whether you're meticulously isolating a single motif from a Tula Pink print or stitching your first English Paper Piecing (EPP) hexagon, you're in the right place. Grab a cup of tea, settle into your sewing space, and let's talk about all things fussy cutting.
Key Takeaways: The Fussy Cutter's Toolkit
Process documentation supports a simple truth about fussy cutting: the most common frustrations stem from losing the motif center, accidentally trimming away the seam allowance, and letting the ruler drift. A reliable toolkit directly addresses these failure points. For English Paper Piecing, many acrylic fussy-cutting templates include a 3/8 inch seam allowance outside the finished paper shape. This specific margin gives enough fabric to fold cleanly without crowding the corners of your basted pieces.
A beginner-friendly starter set usually covers three core finished-shape families: hexagons, 60-degree diamonds, and squares or rectangles.
Recommendation: A practical first purchase range is two to four template sizes in one shape family rather than a large mixed bundle, because repeated motif placement is easier to learn when the angles stay consistent.
Why Acrylic Templates Change the Game
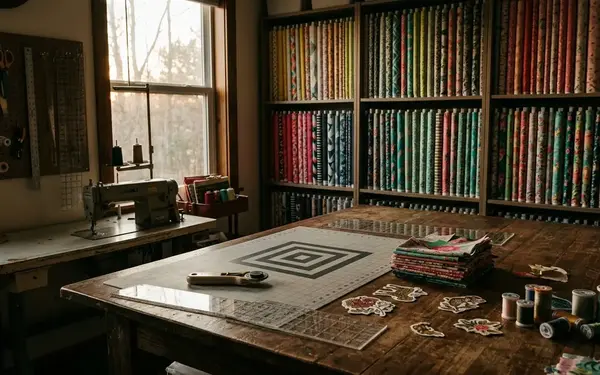
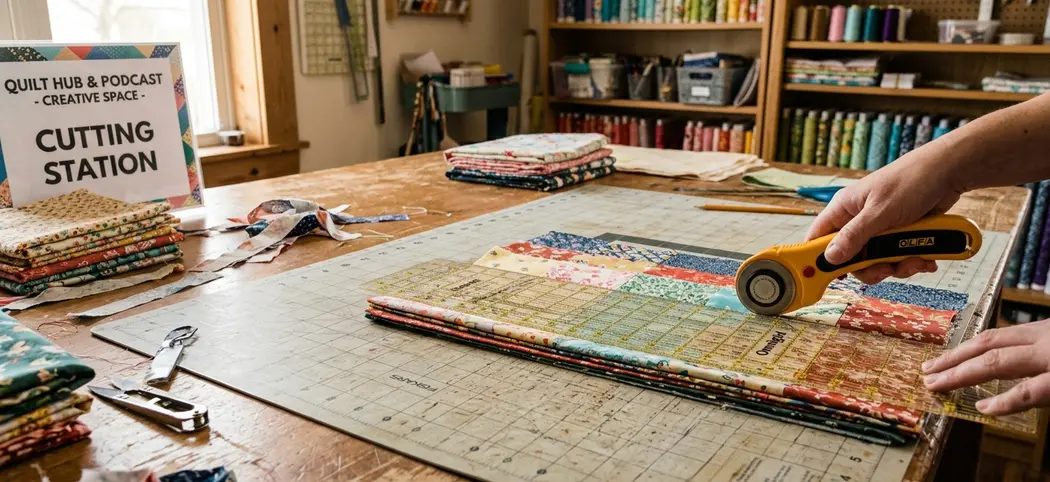
The recommendation for clear acrylic was reached by tracing the actual cutting sequence. You place the template over a printed motif, adjust until the design is centered, hold the edge steady, then cut. Clear templates let you align a flower center, animal face, stripe crossing, or medallion point before cutting, rather than estimating from a paper outline.
Thickness plays a big role in this process. A 3mm, or roughly 1/8 inch, acrylic edge gives a rotary cutter a firmer shoulder than thin flexible plastic and is less likely to bow when hand pressure is applied. For repeat cuts from one fabric print, the speed gain is most noticeable after the first half-dozen to a dozen motifs because the maker stops redrawing around the same paper shape.
Reviewing the Must-Have Core Shapes
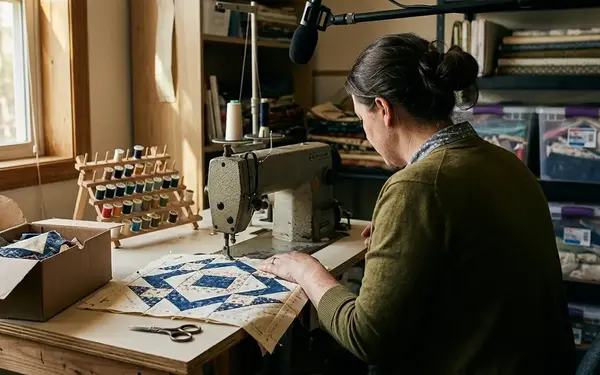
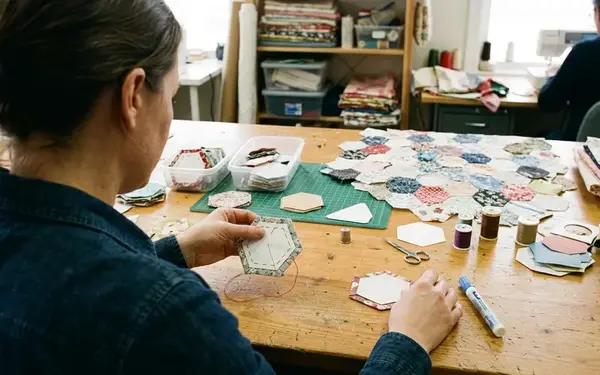
Hexagons support classic English Paper Piecing layouts and mirror-image motif repeats. They are commonly paired with finished paper pieces in 1/2 inch, 3/4 inch, 1 inch, and 1 1/2 inch sizes, with the acrylic cutting template extending beyond that finished size for the seam allowance. Scale matters immensely here. Large-scale florals behave differently from small novelty prints. A 1 inch hexagon may frame a tiny bee perfectly but crop a rose so tightly that the repeated pattern reads as random color instead of intentional motif placement.
When working with 60-degree diamonds, consistent point handling is required. A small shift of even 1/16 inch at the tip can make star points look uneven after basting. This precision is exactly what authors like Willyne Hammerstein rely on for complex Millefiori Quilts.
Squares are especially useful for novelty prints where the target image fits inside a stable frame, such as a 2 inch to 4 inch finished window.
Critical Insight: A practical alignment method is to mark the template center with removable tape, place that center over the motif's visual midpoint, then check that the seam allowance does not slice through important details.
Advanced Shapes for Intricate Designs
Moving beyond basic geometry introduces a second challenge beyond simple motif centering. Clamshell templates require the print direction to be checked before every cut. This is especially true when using fabric with stems, birds, faces, or text that can appear upside down in alternate rows.
Pentagon and octagon layouts often depend on companion shapes, so the acrylic cutting template should be matched to the intended paper-piece system before fabric is cut. Jewel templates can create a stunning kaleidoscope effect when six or eight repeats are cut from the same motif area and rotated around a shared center.
For mirrored jewel units, cutting from fabric repeats spaced 8 to 24 inches apart may be necessary on large-scale prints. Yardage planning matters significantly more here than with small blenders. I often discuss this exact fabric math with Chelsea, owner of Pink Door Fabrics, when planning yardage requirements for complex kaleidoscope blocks.
Evaluating Quality: What to Look For (And Avoid)
Quality is evaluated from the user's contact points: the hand holding the template, the blade riding the edge, and the eye reading the allowance line. As mentioned, 3mm acrylic is a dependable thickness for hand-guided rotary cutting because it gives enough edge height without becoming bulky to store. However, there is a trade-off. A thicker template improves cutter guidance, but on very small shapes with tight internal angles, bulky acrylic can make it harder to see whether the seam allowance is clearing the motif edge.

Laser-etched lines are preferable to surface-printed lines because the measurement marks remain recessed in the acrylic rather than sitting as ink on the handling surface. Thin acrylic under 2mm can flex near narrow points, especially on diamonds, jewels, and coffins where pressure concentrates at the tips.
A clear acrylic hexagon does not automatically produce accurate fussy cutting if the fabric motif is printed off-grain. The template can be centered visually while the surrounding weave still pulls the basted edge unevenly. Workshop experience shows—though individual cutting habits introduce slight variances, that a cutting template for English Paper Piecing commonly includes the seam allowance, while the paper piecing insert represents the finished sewn shape.
Risk Factor: Acrylic templates are best treated as single-layer precision tools. Stacking several fabric layers under a small fussy-cutting template increases slip risk and can distort the motif position.
Care, Storage, and Long-Term Maintenance
Care guidance focuses on preserving the two features that make the templates useful: clear visibility and crisp edges. Clean acrylic with a soft microfiber cloth and mild dish soap diluted in water. Avoid abrasive scrub pads because fine scratches scatter light over printed motifs, making alignment difficult. I learned the importance of pristine tools from Laura Samulionyte, an audio editor who relies on absolute clarity in her digital workspace; the same principle applies to our physical cutting tools.
Store pointed templates flat in a sleeve, tray, or divided box so diamond tips and jewel points are not carrying the weight of heavier rulers. Small grip dots, silicone rings, or fine sandpaper dots can be placed away from etched alignment lines so the template holds the fabric without hiding the motif.
Finally, after every three to five cutting sessions, check the template edges for nicks by running a fingertip lightly along the acrylic edge before the next rotary cut. Maintaining your tools ensures that every isolated motif remains perfectly framed.