Key Takeaways: Elevating Your Fabric Art
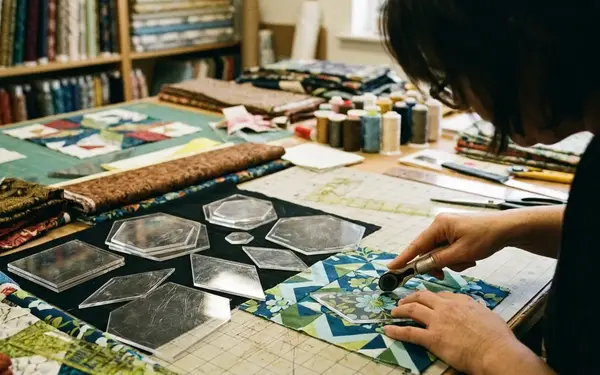
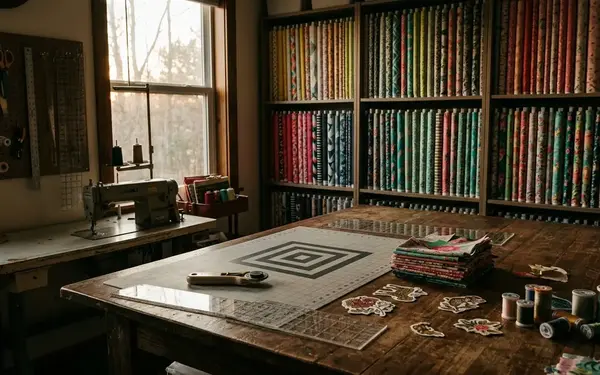
Welcome to the club! Whether you are meticulously isolating a single motif from a vibrant print or stitching your first hexagon, you are in the right place. Grab a cup of tea, settle into your sewing space, and let's talk about the analytical precision of fussy cutting. This technique isolates specific fabric motifs for intentional piecing, transforming standard yardage into highly customized quilt blocks. The takeaways here trace the decisions a quilter makes before the rotary cutter ever touches the fabric. You must first choose a motif worth isolating, then confirm exactly how that motif will land inside the finished block.
Process documentation supports a methodical approach to this preparation. A realistic planning session for one focal block usually takes 15 to 35 minutes before cutting, especially when the print repeat is larger than 6 inches. Digital tools like PreQuilt streamline the visualization of complex layouts, while advanced methods like Slice & Insert create seamless pattern matching. For a first fussy-cut pass, mark the finished shape, then add a 1/4 inch seam allowance on all sides and a 1/8 inch safety buffer if the motif edge is close to the seam line.
Critical Insight: Fussy Cutting Setup Checklist
- Identify the exact motif and mark the intended top edge before cutting.
- Use a clear template that shows the finished shape plus the 1/4 inch seam allowance.
- Check motif placement at the stitching line, not only at the raw fabric edge.
The Core of Intentional Piecing
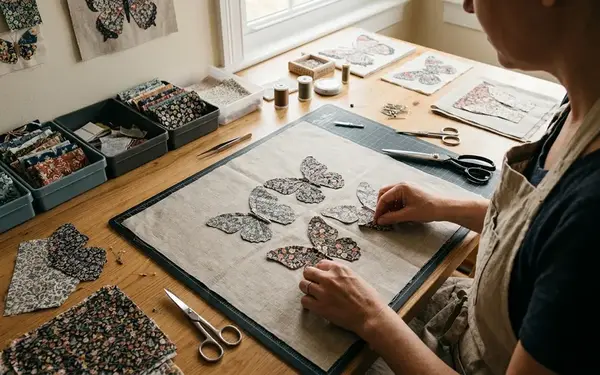
Defining fussy cutting begins with understanding intentional piecing. It is the technique of cutting fabric to highlight specific motifs—a practice that transforms the visual impact of a quilt design. This decision separates ordinary cutting from true fabric artistry. However, once you cut from the middle of a beautiful print, you immediately face the challenge of material waste.
We call this the 'Swiss cheese effect'. When cutting into a fat quarter, roughly 18 by 22 inches, a single centered motif can leave the surrounding fabric too interrupted for long strips wider than 2 1/2 inches. Managing this requires a strategic approach to your yardage.
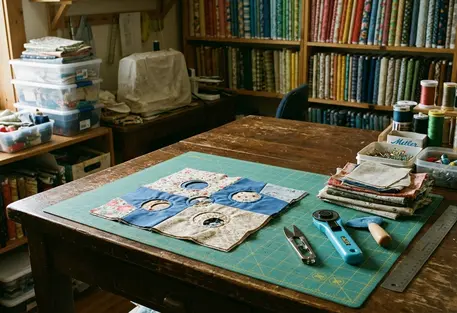
To reduce the Swiss cheese effect, cut the most important motifs first. Immediately sort the remaining areas into usable rectangles. I typically break the leftovers down into 2 1/2 inch squares, 3 1/2 inch squares, and 1 1/2 inch strips. This habit ensures that the negative space around your focal point does not end up in the scrap bin, but rather becomes the foundation for secondary blocks or scrappy borders.
Advanced Techniques: Slice & Insert and Seamless Matching
Insights from quilting instructor Bobbie of Geeky Bobbin highlight the structural elegance of the Slice & Insert technique. This method allows you to add a second fabric into a focal print without disrupting the overall composition. The process is organized around seam visibility. You choose the insertion line where the print already has a visual break, such as a stem, shadow, stripe, frame, or animal outline. This natural camouflage hides the structural seam.
Executing this requires strict measurement. For a narrow inserted accent, cut the insert strip 1 1/4 to 2 inches wide. Stitch with a 1/4 inch seam, then trim the reconstructed unit back to the block size only after both sides are joined. This prevents the block from shrinking below your required dimensions.
Achieving seamless pattern matching by aligning fabric prints perfectly across multiple seams is another advanced skill. Place registration pins every 1 1/2 to 2 inches along the matched motif. Always check the alignment at the 1/4 inch seam line before sewing, rather than relying on the raw edge.
Risk Factor: Failure case: pressing a Slice & Insert seam aggressively to one side can create a visible ridge through a pale focal print, even when the motif alignment is correct. Press seams open where possible to maintain a flat block surface.
Visualizing Designs with Digital Tools
Digital planning prevents repeated fabric handling and costly cutting mistakes. Through an ongoing dialogue with Laura Samulionyte, audio editor and co-founder of PreQuilt, I have explored how digital quilt design transforms the planning phase. The workflow begins with a calibrated fabric image, moves to motif placement inside block outlines, and only then uses randomization software features to automatically distribute colors and prints.
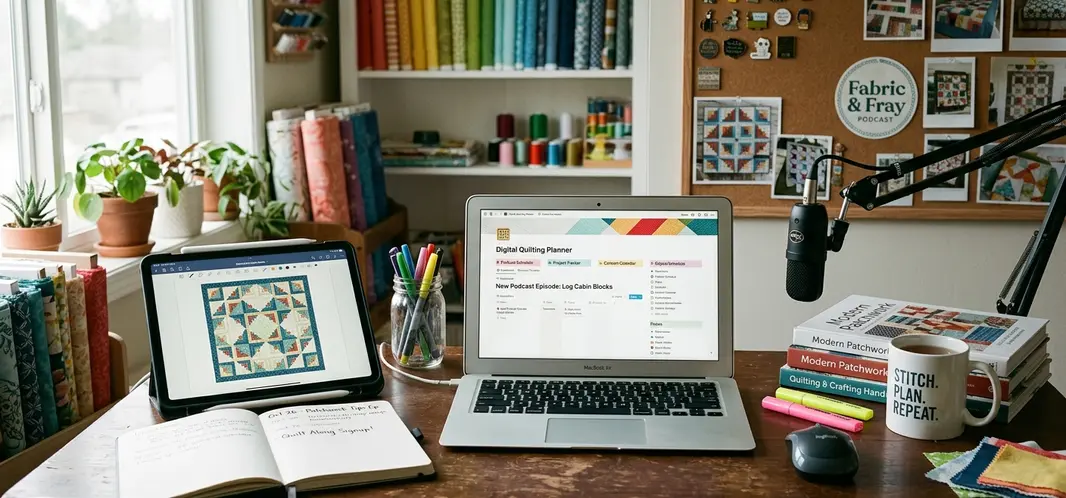
A useful fabric scan should include a ruler or grid reference and capture at least one full repeat. For many quilting cottons, that means photographing or scanning an 8 to 12 inch area. Using the fussy cut feature to plan and visualize specific fabric motifs within a layout requires this accurate scale.
Before cutting your physical fabric, print or view the block at actual size. Verify that the visible motif sits at least 1/4 inch inside the finished edge if it should not be clipped by the seam.
Risk Factor: Failure case: a large character print can look perfect in a digital mockup but lose the character’s face if the seam allowance crosses the eyes, mouth, or other recognition point. Always verify the stitching line in your software.
Pattern-Specific Strategies for Fussy Cutters
Pattern-specific guidance is built around layouts that intentionally frame a fabric image. Expert advice from Amy Friend, owner of During Quiet Time, emphasizes the value of the Graphic Tee quilt pattern. This pattern is specifically designed for fussy cutting, acting as a blank canvas for novelty prints. Participating in community events like the 2024 Graphic Tee Quilt Along provides excellent peer feedback on motif selection.
When auditioning novelty prints for these framed blocks, test the focal image inside a 4 by 6 inch or 5 by 7 inch paper window. If the character, object, or scene is unclear at arm’s length, choose a larger block or a smaller-scale print. Chelsea, owner of Pink Door Fabrics, often notes that context-dependent variation plays a huge role here: directional prints need more yardage and slower cutting than scattered florals because every block must preserve top-bottom orientation.
For a story-style block swap, communication is just as important as the cut. Write the motif source, block orientation, and intended top edge on a removable label before mailing or storing the block. This ensures the recipient understands the visual narrative you intended to share.
Combining Techniques: Fusion Samplers and EPP
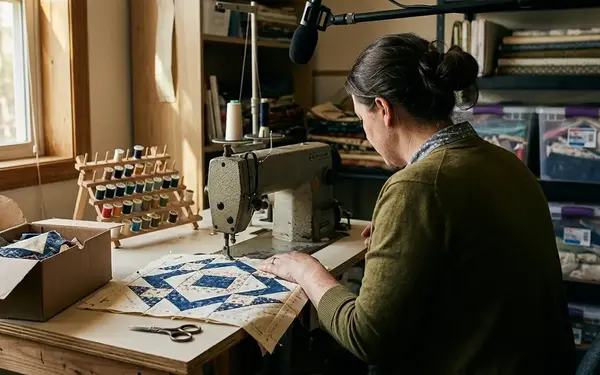
Combining different piecing methods allows you to leverage the strengths of each. Perspectives from Jo Westfoot, owner of The Crafty Nomad, and host Ange 'GnomeAngel' Wilson on tackling the Kinship 100 Block Fusion Sampler pattern reveal the power of this approach. We arrange these techniques from stable to fiddly construction.
Foundation Paper Piecing (FPP) is treated as the accuracy anchor for sharp angles. For foundation piecing, print templates at actual size with scaling turned off. Sew with a shorter stitch length around 1.5 to 1.8 mm so paper removal is cleaner and the tight seams do not pop open.
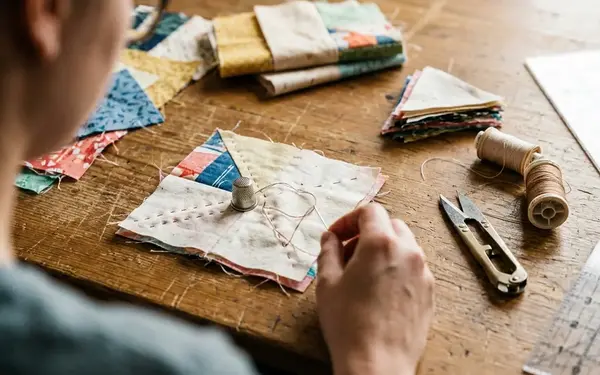
Conversely, English Paper Piecing (EPP) is used where hand placement and slow stitching are required. Authors like Willyne Hammerstein, known for Millefiori Quilts, showcase the extreme precision possible with EPP. For English paper piecing, leave a fabric margin of 3/8 inch around the paper when the print needs precise motif placement. The extra margin gives room to adjust corners before basting.
Recommendation: While these methods yield striking results, they require careful calibration depending on the fabric's weave. Always test your stitch length and margin allowances on a scrap piece of your specific focal fabric before committing to the final block.
Navigating the Challenges of Fussy Cutting
The challenges of fussy cutting—material waste, software learning curves, and time investment, are easier to judge after you understand the benefits. Addressing the material waste associated with the Swiss cheese effect requires the sorting discipline mentioned earlier. You can also look to historical zero-waste practices for inspiration, such as the piecing techniques used in traditional Korean wrapping fabric, which beautifully integrate offcuts into cohesive designs.
Understanding the learning curve required to master digital applications like PreQuilt is essential for setting realistic expectations. A first digital-planning session commonly needs 60 to 90 minutes to import fabric images, scale the repeat, place motifs, and compare two or three layout options. This upfront time saves hours of unpicking later.
Balancing the time investment needed for seamless pattern matching and 100-Day Projects requires patience. A single seamless motif match across three seams can add 25 to 45 minutes to one block when pins, test seams, and unpicking are included. Finally, keep in mind a practical caveat: very small all-over prints rarely reward precision fussy cutting—the motif may disappear once it is reduced by seam allowance and quilting texture. Choose your battles, select your motifs wisely, and enjoy the slow, intentional process of elevating your patchwork.