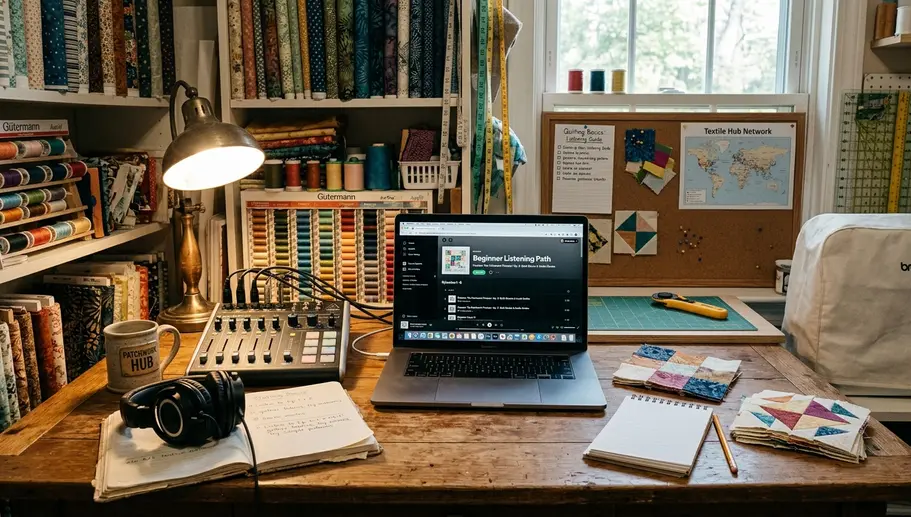
I like a beginner podcast list that earns its place at the cutting table. If an episode gives you language but no action, it can wait. For a new quilter, the better path is simple: listen, test one bench task, then decide what changed in your fabric handling.
This is the listening path I would hand to someone who has a few fat quarters, a rotary cutter, maybe a packet of English Paper Piecing papers, and a healthy curiosity about Fussy cutting.
Key Takeaways for Beginner Quilters
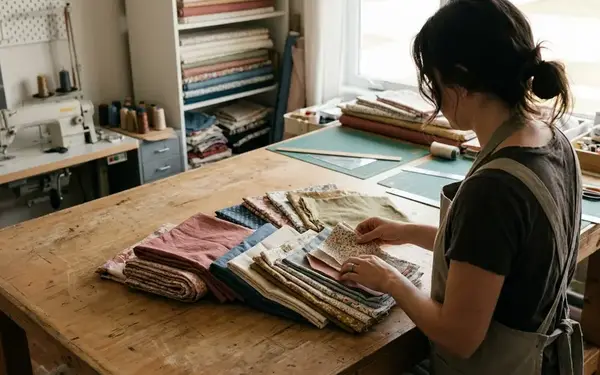
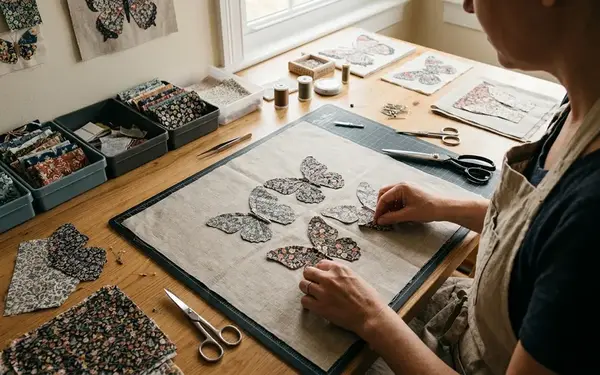
Start with episodes that teach you how to see fabric before they ask you to sew faster. The foundation here is Fussy cutting, English Paper Piecing (EPP), and the finishing decisions that sit quietly in the background until your quilt top is suddenly done.
- Begin with the orientation episodes covering Fussy cutting and EPP, because later guests assume that vocabulary.
- Learn the difference between custom quilting and edge-to-edge pantographs before you send a quilt top away or quilt a small practice sandwich yourself.
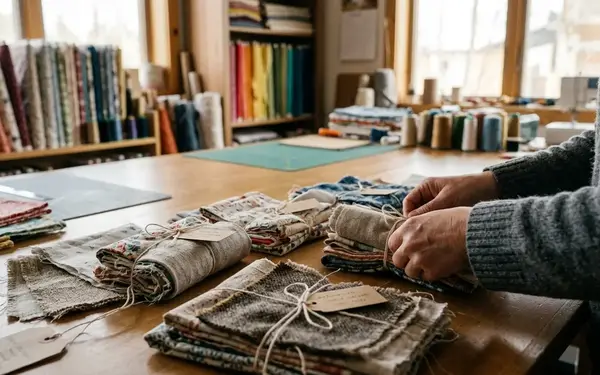
- Use low volume fabrics as control points. They can turn a loud novelty print into a more mature design instead of letting every print shout at once.
Critical Insight: A practical beginner listening path is 3 to 5 sessions of 25 to 45 minutes each, with one bench task after each session. Do not binge the full list and call that learning.
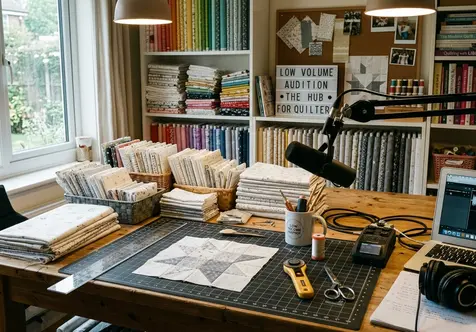
Our Criteria for Selection
I selected episodes by asking one blunt question: can a new quilter turn this conversation into a physical studio action without needing a longarm machine, advanced drafting software, or a large fabric stash?
This ranking is practical, not a universal hierarchy; it favours episodes that produce a bench task for a beginner.
What counted as useful
- Each chosen episode supports at least one task that can be tested on a single block, mini quilt, pouch panel, or 12 to 18 inch practice sandwich.
- The list balances early-feed orientation, guest technique conversations, community-building episodes, and one production-focused episode.
- The strongest episodes explain technique without flattening the community voice of Fussy Cutters Club.
Peer feedback indicates that beginners stay calmer when the listening task is tied to one bench action. Cut 6 to 12 repeat motifs. Baste 10 to 20 EPP papers. Audition 3 to 5 low volume fabrics beside one novelty print. That is enough data for a first week.
1. Episode 001 – Welcome to Fussy Cutters Club
This episode comes first because it teaches you how to listen to the rest of the show. Ange, known to many as GnomeAngel, sets the tone: curious, specific, and not embarrassed about loving fabric down to the tiny repeat.
Why it works for beginners
The episode introduces Fussy cutting as a way of making decisions, not as a party trick. You are not just cutting a cute animal from the middle of a print. You are choosing what the viewer sees first, what gets repeated, and what disappears into seam allowance.
The story behind Tuesdays with Wendy, Ange’s first finished patchwork quilt, matters because it gives beginners permission to have a first quilt with a story attached. The Australian slang, including doona and bogan, also softens the technical entry point.
Recommendation: Listen while pressing fat quarters or sorting scraps by motif size. Then place a 2.5 to 4 inch clear template window over a novelty print and mark the centre of one motif before cutting.
2. Episode 003 – Fussy Cutters Quilt Club with Raylee Bielenberg
Raylee Bielenberg brings the finishing conversation forward, which is exactly where many beginners need it. Too often, a new quilter makes a top and only then asks what the quilting should do.
Here is the clean distinction. Custom quilting can frame, echo, or avoid a specific printed image. Edge-to-edge pantographs create a repeated texture across the whole surface.
Custom versus pantograph
Custom quilting is most useful when isolated motifs sit in the 3 to 8 inch range. At that size, stitch paths can respect the printed image. If you have fussy cut birds, teacups, moons, or character faces, custom work can stop the quilting from cutting straight through the thing you worked to feature.
An edge-to-edge pantograph becomes easier to justify when the quilt uses repeated blocks, busy novelty prints, or seams that need unifying texture. A traditional Baptist Fan gives rhythm and softness. A design like Inception Squared reads more geometric and modern.
Risk Factor: If you listen before making even one small quilt sandwich, you may understand the vocabulary but still struggle to choose thread path, density, or motif placement on an actual project.
3. Episode 009 – Conversation with Hunter’s Design Studio
Sam Hunter’s episode has a different energy. It connects fandom-style design to sewing discipline, especially through the Fandom collection of sci-fi themed quilt patterns.
I like this one for beginners because text blocks are unforgiving in a useful way. Letters show you quickly whether your seam allowance, unit order, and fabric contrast are working.
Paper-pieced text blocks
Start with one short word, not a whole slogan. Three to 5 letters is plenty. Label the paper units before cutting fabric, keep a visible 1/4 inch seam allowance around each section, and shorten the stitch length to roughly 1.5 to 1.8 mm so the paper tears away cleanly after sewing.
This is where Fussy cutting can become structural. A tiny motif inside a letter counter, or a directional print running through a word, gives the block personality without making the technique sloppy.
4. Episode 008 – Fussy Cutters Bake Club with Cath
This is the midpoint I want in a beginner list. Cath Hall, known through Wombat Quilts, joins Sam Hunter in a community-focused episode around the 2024 Bake Club and Yossy Arefi’s Snacking Bakes.
The episode is light, but it is not filler.
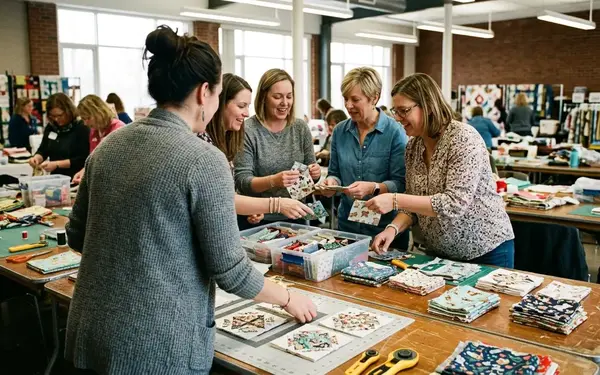
Why community episodes matter
Beginner quilters often stay engaged longer when the project feels social. The Bake Club format gives you permission to stitch without turning every session into a technical exam. The Pavlova Magic banter helps, too; it reminds you that quilts live in kitchens, group chats, guild nights, and messy real rooms.
Pair this one with relaxed handwork: 30 to 60 minutes of basting, thread burying, EPP whipstitching, or fabric sorting. Do not use it for a high-concentration cutting session.
5. Mastering Low Volume Fabrics with Lizzy House
Low volume fabric is not background by default. It is a control surface.
The Lizzy House conversation around the Whisper Palette is valuable because it solves a common beginner problem: novelty fabric can look childish or chaotic when every print competes for attention. A quieter fabric field lets the feature print breathe.
A bench test that works
Place one novelty print beside 5 to 7 low volume options. Photograph the group in grayscale. If the feature print still reads clearly, you have a better chance of keeping the final quilt cohesive.
For this job, useful low volumes tend to sit in off-white, cream, pale gray, blush, or soft tan. Fine-scale marks usually behave better than large dark motifs. Chelsea, owner of Pink Door Fabrics, often comes up in fabric conversations for exactly this reason: selection is not just about liking a print, it is about controlling contrast.
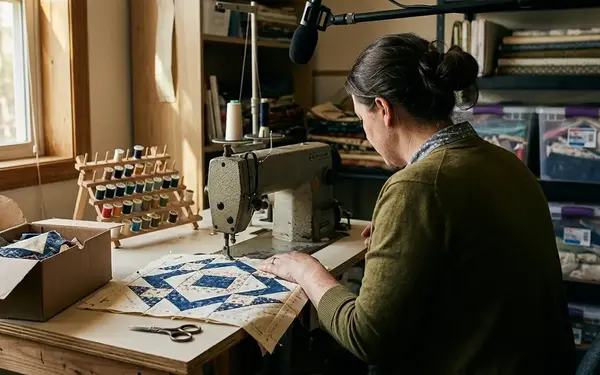
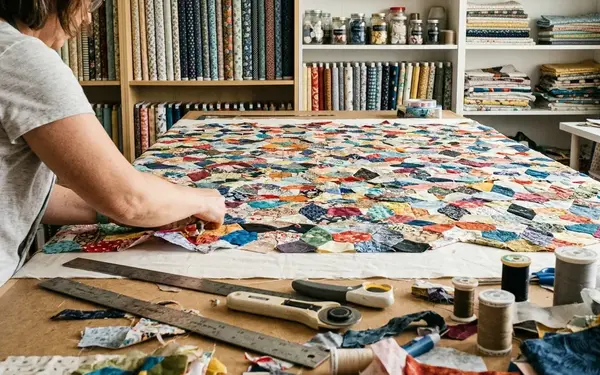
6. EPP Masterclass with Willyne Hammerstein
Willyne Hammerstein, author of Millefiori Quilts, represents the slow end of patchwork, and I mean that as praise. This episode gives beginners a realistic sense of why complex EPP looks so precise.
You cannot rush the architecture.
Beginner setup
- 20 to 40 paper pieces.
- A small glue pen or thread-basting kit.
- One neutral thread.
- Pre-cut fabric pieces with at least 3/8 inch turning allowance.
Expect the first evening to be preparation: printing or tracing templates, cutting papers, sorting fabrics, and basting shapes. Visible block assembly may not happen yet. That is normal, and it is part of the method.
7. Travel Sewing with Teresa Coates
Some episodes earn a place because they answer the question pattern instructions skip. How do you keep sewing when you are away from the cutting table?
The travel-focused conversation belongs here because portability changes what gets finished. A project that fits your life has a better chance of surviving the week.
Pack the pouch, not the whole studio
A reliable travel kit fits into a 7 by 10 inch pouch. Mine would hold a needle book, thread card, 12 to 24 pre-cut shapes, clips, a small marking tool, and a folded layout diagram.
Choose repetitive units: hexagons, diamonds, clamshells, or small appliqué pieces. If you need to re-check a full-size cutting chart every few minutes, it is not a travel project yet.
8. Quilt Valuation and Documentation with Chawne Kimber
This is the episode I would use when a beginner says, “It is just a quilt.” No. It is material, labour, design, and record.
Chawne Kimber’s lens helps new makers treat finished work as something with artistic and documentary value without needing a gallery vocabulary first.
Make the record while the quilt is still nearby
- Maker.
- Title.
- Completion month.
- Materials.
- Dimensions to the nearest 1/4 inch.
- Batting type.
- Quilting method.
- Care notes.
Before gifting or storing a quilt, take at least four photographs: full front, full back, binding detail, and one close-up showing fabric, stitching, and any label.
9. Directional Quilts and Motif Control
Directional prints punish casual cutting. Animals lean sideways. Text flips. Buildings fall over. Faces stare into seam allowance.
This episode works best near the end of the list because you need some Fussy cutting vocabulary first. Once you have that, directional planning becomes less mysterious and more mechanical.
Mark the top edge
Before cutting, draw arrows on the pattern diagram and on the wrong side of test fabric pieces. Every unit needs a visible top edge during layout.
For directional prints with a clear repeat, buy or reserve extra fabric equal to one full repeat plus a 6 to 10 inch handling buffer when motif placement matters more than fabric efficiency. This advice has the biggest payoff on animals, faces, buildings, text, stripes, and one-way florals. Solids and scattered allover prints will not show the same before-and-after difference.
10. Behind the Scenes with Laura Samulionyte
I wanted one production-focused episode in this list because the podcast itself is a crafted object. Laura Samulionyte, audio editor, helps shape the listening experience that lets quilters follow along while their hands are busy.
That matters more than people think.
Listen for structure
Notice the opening welcome, the context for the guest or topic, the main conversation, the practical takeaways, and the closing community cues. Clean pacing, reduced dead air, and consistent vocal tone make a sewing session easier to sustain, especially across 45 to 90 minutes.
For beginners, this episode also builds media literacy. You start hearing why some craft audio feels usable at the machine and some does not.
Putting the Listening Path to Work
If you are using large-scale novelty fabric, begin with Episode 001, the low volume discussion, and the directional quilts episode. If your stash leans toward solids and blenders, you may get more immediate value from Sam Hunter’s text blocks, Willyne Hammerstein’s EPP discipline, or Teresa Coates’s travel sewing habits.
The point is not to finish ten episodes quickly. The point is to leave each one with a sharper hand skill: a cleaner motif cut, a better prepared EPP shape, a more deliberate quilting plan, or a quilt record that future-you will actually understand.
Recommendation: Choose one episode, one bench task, and one small measurement to check. That is how beginner confidence becomes repeatable.