Why Four 45-Degree Cuts Turn Basic Stripes into a Custom Picture Frame
Four corners joined along 45-degree seam lines redirect linear stripes around a central square, creating a continuous 90-degree turn at every corner that mimics the nested bevels of a traditional wooden picture frame. When you isolate a prized motif through fussy cutting, a straight butt-joined border often visually interrupts the eye at the corners. Mitering those intersections forces the gaze directly inward toward the feature fabric.
Achieving a continuous, unbroken frame relies on three specific technical actions executed in order: matching the stripe scale to the motif size, cutting identical repeat points across all four border strips, and terminating the seam allowance precisely at the quarter-inch intersection. Skipping any of these steps results in mismatched diagonal intersections or puckered corners.
Before touching the rotary cutter, gather the necessary studio tools and prepare your materials. You will use a consistent quarter-inch seam allowance throughout the entire construction process.
- Clear acrylic quilting ruler: Must feature a crisp, prominent 45-degree diagonal reference line for corner layout and trimming.
- Water-soluble fine-line fabric pen: Essential for plotting exact stopping points. Test the marking pen on a fabric scrap first and remove the test mark according to the manufacturer's instructions before touching your feature fabric.
- Flat-head flower pins: These lie flat against the cutting mat and ironing board, preventing distortion when aligning multi-layer stripe repeats and diagonal folds.
- Starch-stabilized feature print and border fabric: Pressing both fabrics with starch beforehand prevents bias stretch when sewing the 45-degree corner seams.
Auditioning Stripe Direction and Scale Against Your Feature Print
Successful motif isolation begins with a cardstock viewing window rather than a blade. Cut a square opening in a piece of sturdy cardstock to match the exact intended finished size of your center square. For a 4.5-inch cut center, cut a 4-inch-square viewing window; the surrounding quarter inch on all four sides will eventually disappear into the seam allowance. Slide this template across your feature print until the central botanical or geometric details sit squarely inside the opening, ensuring no critical artwork edges get trapped in the stitching line.
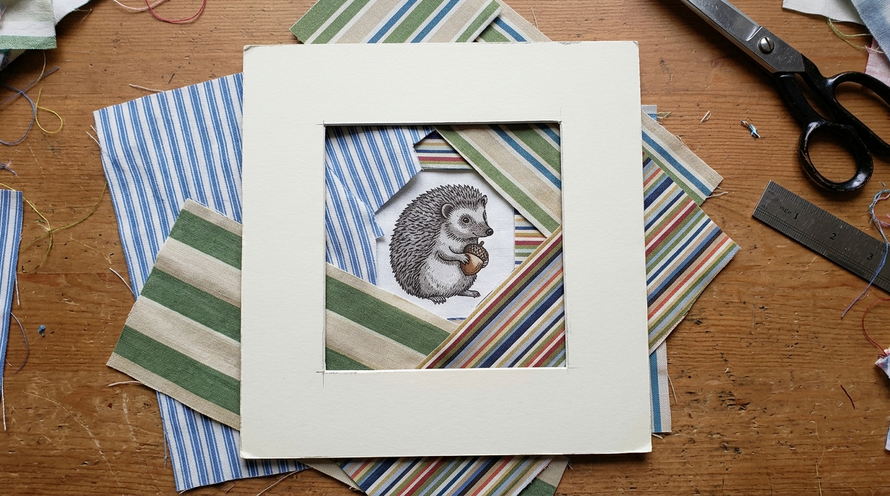
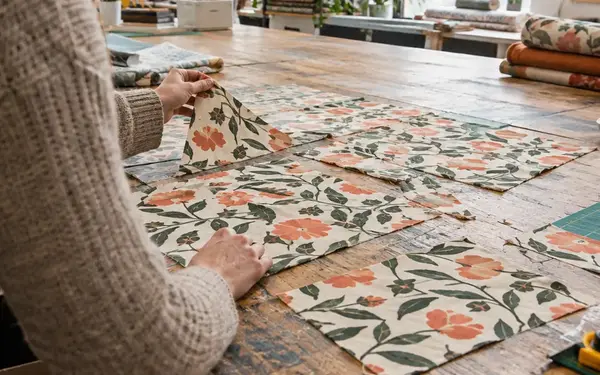
Once the motif is isolated under the cardstock window, audition your striped border fabric directly against two adjacent edges of the opening. Fold the extra quarter-inch inner seam allowance of the striped fabric underneath so it does not distort the visual proportion, and lay the strips at their intended finished width. Fold the overlapping corner ends at a 45-degree angle right over the cardstock corner to simulate a finished miter.
Test two distinct orientations during this audition. First, run the stripes parallel to each border's long edge, which creates a concentric nested box around the square. Next, rotate the fabric 90 degrees so the stripes run perpendicular to the center seam, radiating outward like a sunburst. Notice how an asymmetric stripe sequence may fail to mirror at every miter even when all four pieces share the same registration point, so always preview the actual corner fold on the cutting table rather than assuming repeat alignment guarantees a match.
Scale dramatically alters the optical weight of the block across a 2-inch finished border:
- Fine pinstripe or ticking fabrics: Featuring lines spaced roughly 1/16 to 1/8 inch apart, these narrow repeats read as a quiet texture that recedes gently, allowing complex multi-colored motifs to dominate.
- Bold multi-width awning stripes: Containing broad bands 1/2 to 1 inch wide, these create a pronounced architectural bevel. Placing the darkest band directly against the inner seam pulls the eye inward, whereas placing a pale band against the center square expands the perceived space around the motif.
Cutting Four Identical Border Strips Without Losing the Pattern Repeat
Cutting consecutive border pieces down the length of yardage without registering the stripe sequence places different color bands against the central square, ruining the frame illusion. Every single border strip must start at the exact same registration point within the printed pattern repeat.
To calculate the exact cutting dimensions, let C represent the finished center side length and B represent the finished border width. Cut each border strip to a width of B + 0.5 inches and a length of C + 2B + 2 inches. That extra 2-inch margin provides essential clearance beyond the 45-degree miter for handling and squaring.
The Missing-Inch Breakdown
Always calculate your cuts from the finished measurements, accounting for the quarter-inch seam allowances on both sides of every piece:
- For a 4-inch finished center (4.5-inch cut) with 2-inch finished borders: Cut four strips measuring 2.5 inches wide by 10 inches long. This yields an 8.5-inch unfinished panel.
- For a 4-inch finished center (4.5-inch cut) with 2.5-inch finished borders: Cut four strips measuring 3 inches wide by 11 inches long. This produces a 9.5-inch unfinished panel.
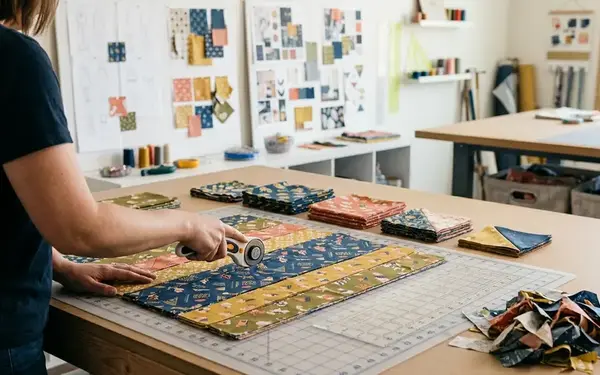
Precision cutting requires stacking four starched, pressed sections of striped fabric right sides up on your mat. Identify one unmistakable visual anchor—such as the crisp boundary where a narrow cream stripe meets a broad navy band—and use it as your master reference line. Follow this pinning protocol to lock the layers together:
- Align the salvage or lengthwise grain of the first layer with the grid lines on your cutting mat.
- Lay the second piece on top, pushing a flat-head flower pin vertically straight down through that exact stripe boundary near one end of the planned strip.
- Pivot the top layer until the stripe boundary aligns at the opposite end as well, placing a second registration pin at least several inches down the cutting length to expose any subtle rotation between layers.
- Repeat until all four layers sit perfectly stacked.
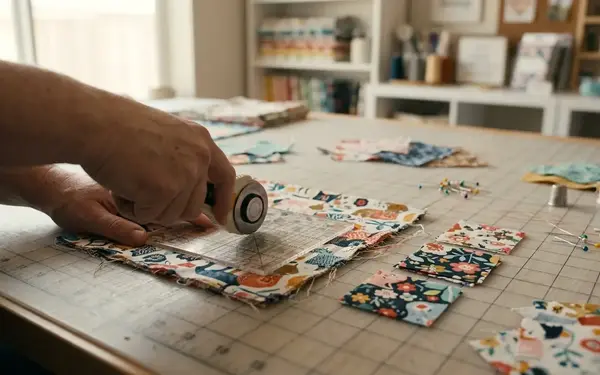
- Place your acrylic ruler over the stack, align the measurement mark with your pinned stripe boundary, shift the pins just out of the rotary blade path while holding firm downward pressure on the ruler, and make a single decisive cut.
Marking Stopping Points and Sewing Crisp Mitered Corners
A mitered corner turns cleanly only when the attachment seams stop strictly at the seam allowance junctions. Turn your 4.5-inch cut center square wrong side up. Using your water-soluble fine-line fabric pen and ruler, plot a small dot at each corner sitting exactly 0.25 inch away from both adjacent raw edges. Measure the span between two dots along any single edge; it will measure exactly 4 inches.
Next, transfer these stopping points to your four oversized border strips. Take a 10-inch border strip, fold it in half lengthwise to find its exact midpoint, and align that midpoint with the center of one motif edge, right sides together. Transfer the center square's corner dots directly onto the wrong side of the border strip along a line sitting 0.25 inch from its inner raw edge. These transferred stopping marks will sit 2 inches to either side of the strip's lengthwise midpoint. They belong right beside the center square's corners, leaving the long unsewn tails extending past the square.
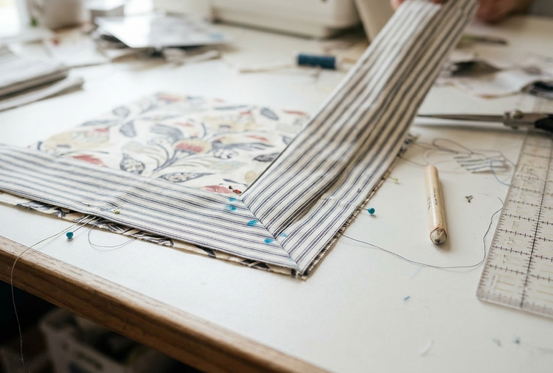
Attach all four border strips to the central square using the partial-seam method:
- Pin one border strip to its corresponding motif edge, matching the plotted quarter-inch intersection dots.
- Drop your machine needle directly into the first dot. Stitch along the quarter-inch line and stop precisely on the second dot.
- Lock both ends with a short securing backstitch of two or three stitches, keeping every single stitch strictly inside the marked 4-inch seam span. Fold the unsewn tails out of the way as you attach the remaining three borders.
The Corner-Dot Boundary
Never stitch off the raw edge of the fabric when attaching mitered borders. Catching even one thread beyond the quarter-inch intersection dot locks the adjacent border strip in place, making a flat 45-degree fold physically impossible without ripping back stitches.
With all four borders attached to the central square, fold the entire block diagonally down the middle, placing the right sides of the central square together. Two adjacent unsewn border tails will now lie directly on top of one another. Lay the folded unit on your mat and align the raw edges of those two border tails. Push flat-head flower pins perpendicularly across the 45-degree fold line, piercing through individual stripe edges on the top layer and checking that they emerge at the exact same stripe edge on the bottom layer.
Place the pinned corner under the presser foot. Drop the needle precisely into the inner quarter-inch seam intersection dot—right where your previous attachment stitching ended, without catching the folded center square underneath. Backstitch two stitches, then sew outward along the 45-degree angle all the way through the outer raw edge of the border strips. Repeat for all four corners.
Pressing the Mitered Seams Flat and Squaring the Panel for a Cushion or Quilt
Before trimming any excess fabric, open the block right side up on the ironing board and inspect all four diagonal intersections. Once you confirm the stripes meet cleanly across the miters, fold the corners back to the wrong side and trim the excess border tails down to a neat quarter-inch seam allowance.
Pressing sequence dictates how flat the finished panel lies. First, set the four central attachment seams with a hot dry iron, then press those seam allowances inward toward the central fussy-cut square. Pressing inward keeps the striped outer frame free of underlying seam shadows. Next, address the four diagonal corner seams. Press the miter seam allowances completely open rather than forcing their four-layer bulk to one side. Because the 45-degree cut sits on the true bias of the cotton weave, lift and lower the iron vertically onto the open seam rather than dragging the soleplate along the diagonal line.
Snip away the tiny triangular dog-ears projecting past the outer edges, taking care never to clip into the actual seam junction. Now, move the pressed panel back to the cutting mat to square it from the center outward:
- For the 2-inch finished border version: Align the 2.25-inch mark of your quilting ruler directly over one of the center square's stitched seam lines, checking that the ruler's 45-degree line tracks straight down the mitered corner seam. Trim the outer raw edge. Repeat on all four sides to yield a precise 8.5-inch unfinished block.
- For the 2.5-inch finished border version: Align the 2.75-inch ruler mark along each center seam line and trim all four outer edges to produce a 9.5-inch unfinished block.
Always verify both the total outside dimensions and the exact distance from each center seam to its corresponding outer raw edge before executing your final rotary cut. When that 8.5-inch unfinished block is sewn into a project, it finishes at 8 inches square: its 64-square-inch finished surface area is exactly four times the 16-square-inch visible center, turning a single 4.5-inch fussy-cut repeat from a precious designer print into a commanding cushion cover or quilt medallion.