Why the Best Fussy Cuts Ignore the Center of the Print
Deliberately slicing through a flower at the finished patch edges can create a stronger secondary quilt pattern than enclosing the whole bloom. In a six-part rosette, those fragments become spokes, rings, or a background shape that holds the composition together.
Four measurable factors govern the result: template rotation angle, repeat interval distance, edge value contrast, and trapped negative space. I use those as a cutting-mat checklist whenever an attractive individual patch produces an unexpectedly muddled block.
Start with an equilateral paper triangle with 3-inch finished sides and an acrylic template providing a 3/8-inch seam allowance. Trace the paper outline onto the template so the visible patch has its own clear boundary. Judge the print inside that line; everything outside it folds away.
These checks apply specifically to symmetrical kaleidoscope blocks. A single-patch showcase has no neighboring fragments to complete the same geometry. For a wider visual reference, browse the historic English paper pieced mosaic quilts in the collection search.
Four Measurable Factors at the Cutting Mat: Angle, Repeat, Contrast, and Space
Track the Stem Against the Grain
Mark the lengthwise grain direction on the template, then audition the blossom at 0, 30, and 60 degrees relative to that reference. Follow its stem through the finished outline. Does it point toward the center, cross a side seam, or travel around the perimeter?
A 60-degree turn reverses an equilateral template’s pointing orientation. The printed stem still determines whether the assembled block appears to spin. Record both the angle and the seam crossing rather than treating rotation alone as the answer.
Find Six Truly Matching Landmarks
Measure repeat intervals between identical landmarks, such as a particular leaf joining its stem. Similar-looking flower heads can conceal different surrounding leaves.
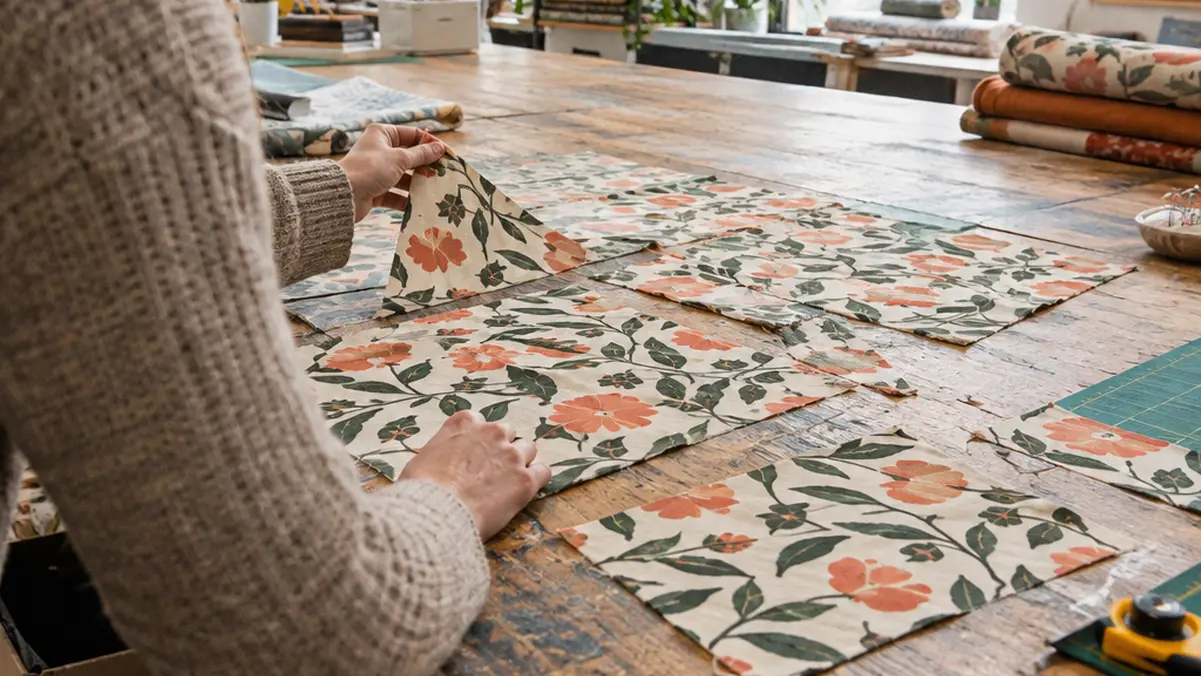
Check across and along the cloth to distinguish a straight repeat from a half-drop arrangement. In a hypothetical half-drop print with a 12-inch vertical repeat, the matching landmark in the neighboring column sits 6 inches higher or lower. Verify the actual spacing on your yardage, then mark six matching locations that accommodate the complete seam-allowance outline.
Read the Background as a Shape
A grayscale photograph helps reveal value contrast where petals cross seams. Separately trace the background captured at the inner point and compare it with the background around the perimeter. Moving that dark area inward shifts the block’s visual weight.
Dark Tips Need Recesses
Six dark triangle tips may assemble into a compact hexagon. A background star needs printed boundaries that create alternating points and recesses; darkness alone cannot supply the silhouette.
One Botanical Yardage, Six Rosettes: A Side-by-Side Comparison
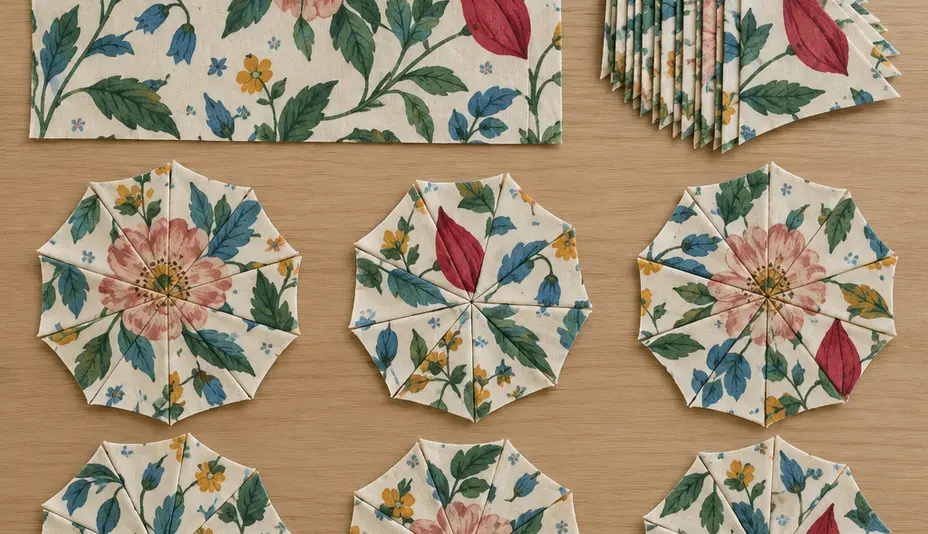
Choose one botanical print containing a recognizable blossom, secondary leaves, a contrasting petal, and small background marks. Keep the paper size constant throughout. Six placements require 36 triangles for six sewn comparison rosettes, so I establish the designs with traced or photographic mock-ups first.
Cuts 1 and 2: Whole Blossom or Tipped Bloom
Cut 1, the Focal Center: center the blossom inside the finished outline. Six separate floral units create a steady, compartmentalized rhythm. This gives the comparison a useful baseline.
Cut 2, the Tipped Bloom: move the visible blossom tip to the finished inner vertex, then angle the stem consistently through each patch. The repeated stem direction can encourage a spinning effect.
Keep that tip visible inside the paper outline. Positioning it entirely within the seam allowance removes the very detail intended to connect the center.
Cuts 3 and 4: Leaf Ring or Background Star
Cut 3, the Stem Bridge: begin with a leaf crossing 1 inch from the inner vertex along each relevant 3-inch finished edge. Inspect the neighboring patch for matching position and direction. Matching the distance alone can leave two leaves pointing away from one another instead of forming a continuous ring.
Cut 4, the Negative-Space Star: isolate the dark background near the inner vertex, then adjust the surrounding leaf and petal boundaries until the assembled silhouette develops distinct points and recesses. Trace that central shape separately to judge its outline.
Cuts 5 and 6: Split Petal or Dotted Connector
Cut 5, the Diagonal Split: draw a median from the inner vertex to the midpoint of the opposite finished edge. Register a high-contrast petal against this line. Its repeated divisions can build pronounced kaleidoscope spikes.
Cut 6, the Micro-Accent: capture only the small background dots. This quieter placement makes a textural connector beside busier rosettes while keeping the same botanical fabric in play.
Compare all six mock-ups from upward of 6 feet away. I look first for the shape that survives that distance, then return to the mat to inspect individual seam crossings.
Auditioning Your Cuts with Hinged Mirrors and Viewing Frames
A viewing frame isolates the finished patch; hinged mirrors preview its surroundings. Use both before committing the matching repeats to the rotary cutter.
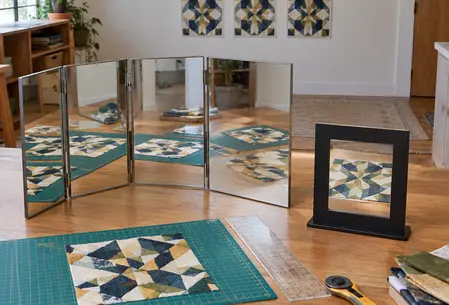
- Establish the wedge. Set two hinged mirror faces at 60 degrees, checking the opening with a drafting triangle or angle guide. Place the hinge over the proposed rosette center and align the lower edges with the finished seam rays.
- Move through the six placements. Slide and rotate the wedge over the uncut yardage. Record the grain-relative angle, repeat spacing, seam-edge contrast, and central background silhouette for each candidate.
- Check the actual sewing orientation. Arrange six traced or photographed copies as the patches will sit in the rosette. Mirror reflections do not automatically represent six identically oriented fabric cuts.
- Register separated landmarks. Use fine-line permanent marker on removable clear tape attached to the acrylic, or small washi-tape pointers. Mark a stem junction, a petal notch, and a distinct background dot. Their separation helps expose accidental rotation.
- Fold the first cut. Wrap its allowance around the paper and compare the exposed print with the template’s finished outline before cutting the remaining five.
Keep Closure Separate
Six instances of 1/8-inch print displacement total 3/4 inch arithmetically, but they do not establish a center gap. Correctly sized papers can still meet while their printed petals miss one another.
In English Paper Piecing (EPP), paper accuracy governs closure and print registration governs the picture: six 60-degree paper corners complete 360 degrees, even when the flowers fail to meet.