Keep the Inherited Cotton Sound Before Adding a Stitch
A thick needle or tightly pulled thread can split decades-old cotton beside an otherwise tidy seam. With an inherited English Paper Piecing project, the first useful work happens before you thread a needle: support the pieces, inspect their edges, and decide which cloth can carry another join.
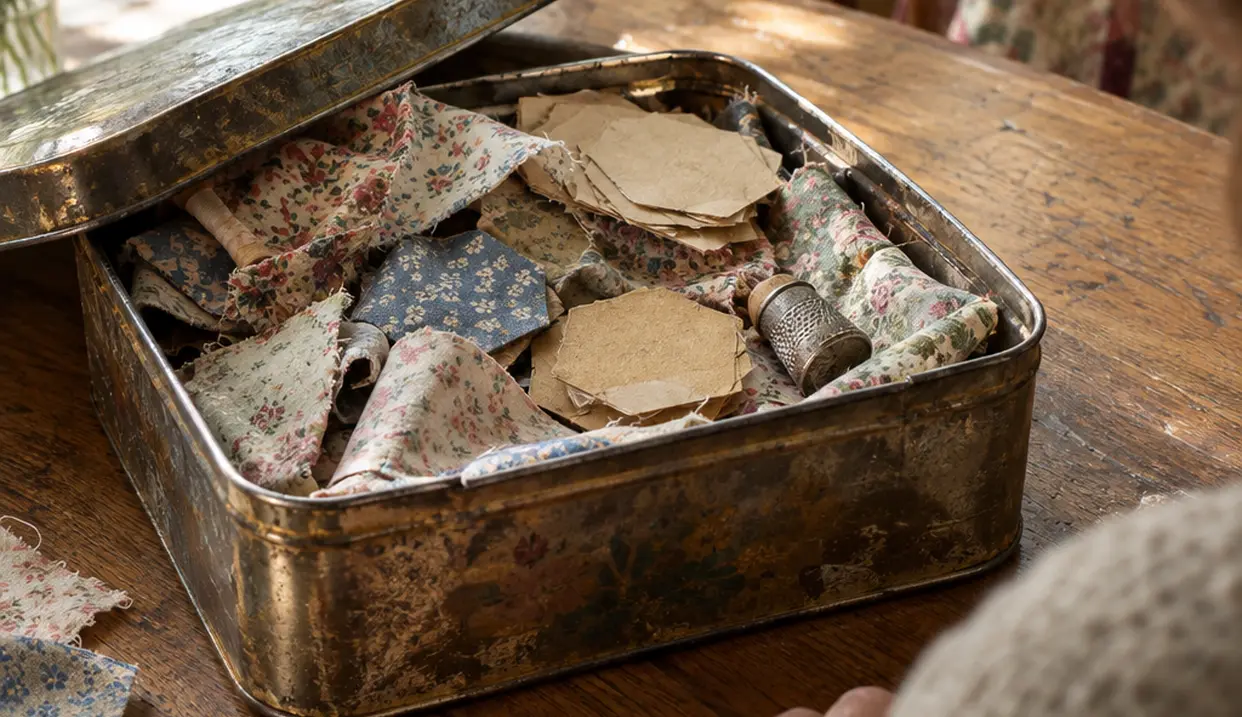
Start with a tin box containing basted hexagon rosettes, loose newsprint templates, and unpieced fussy-cut florals. There is a quilt here, but its eventual shape should follow the surviving fabric. A compact medallion gives those carefully chosen flowers room to shine without demanding a bed-sized supply of matching cotton.
I start by looking at the folded allowances rather than the prettiest flower in the center. That small change in attention puts the structural question first: where will the next stitch actually land?
- Check the cloth before removing basting. Support it flat, inspect under magnification, and gently flex an already exposed allowance without pulling it taut.
- Choose thread for the weakest sound textile. Trial a fine thread and needle on replacement scraps before approaching an inherited seam.
- Let the surviving group set the scale. A finished medallion is a useful destination for an incomplete collection.
Keep the papers and basting in place while you make these decisions. They hold information about shape, orientation, and how the original maker handled the fabric.
Sort the Rosettes Without Disturbing Their Fragile Edges
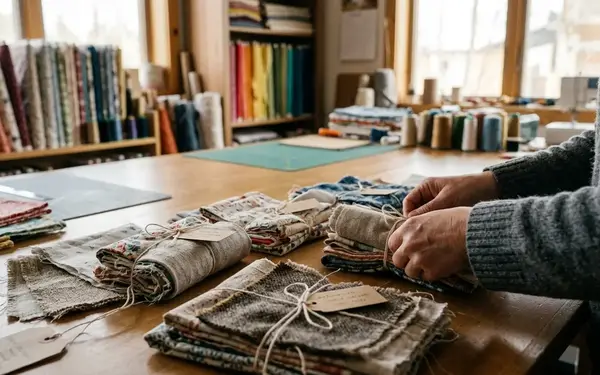
Cover the table with clean fabric and move each piece on a supporting surface. Avoid pressing brittle newspaper flat or unfolding allowances simply to make the backs look orderly. Those folded edges are precisely where damage needs careful inspection.
Build an Inventory That Preserves the Clues
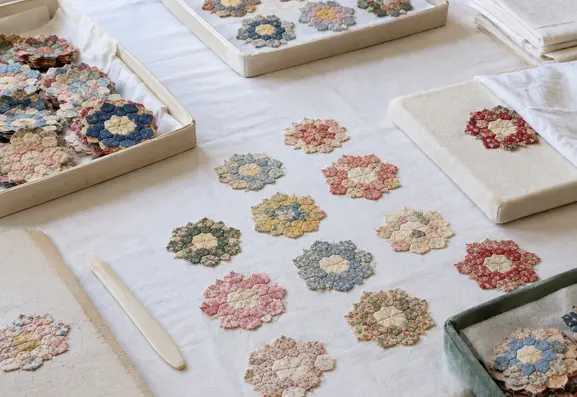
Separate the contents into completed rosettes, basted single hexagons, and uncut or partially cut fabric. Give each rosette an identifying slip. Photograph its front and back with that same slip visible, recording pin locations before moving anything.
Then inspect both the folded perimeter and the cloth beside existing stitches. A supple center cannot tell you whether its seam allowance will accept a needle.
- Cracks following a fold: examine the whole folded edge before planning a join across it.
- Yarns separating beside stitch holes: mark that edge for support rather than adding tension.
- Orange-brown deposits around pins: record the location and support the surrounding cloth before attempting removal.
Give dark brown and black prints particular attention. Historic dye chemistry can contribute to localized shattering; color alone does not diagnose an iron mordant or dry rot. Rust staining likewise calls for inspection rather than a guess about how much strength remains.
Keep Heat Away From the First Repair
For a frayed allowance beside sound cloth, a small lightweight woven backing offers support without introducing an adhesive. Secure it through the adjacent sound fabric. Choosing fusible interfacing would also introduce heat, pressure, and adhesive into the repair; keep this rescue to a sewn support.
Fabric that powders, splits during gentle supported handling, or cannot hold a stitch belongs in supported display or a textile conservator’s assessment rather than a sew-through repair.
For handling guidance alongside your inventory, see the Smithsonian Museum Conservation Institute guidelines on caring for historic textiles.
Find the Fussy-Cut Pattern Before Choosing a New Background
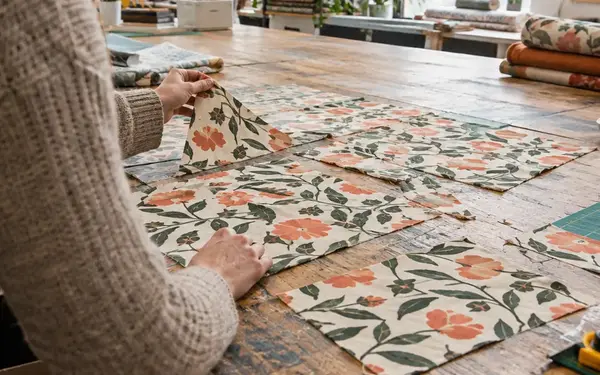
A small floral hexagon can look accidental on its own. Set its companions beside it and a second pattern may emerge: flower heads meeting at corners, leaves turning around a center, or stripes repeating their direction through the ring.
Study the motif at all six corners of each hexagon. Compare several matching pieces before settling on an arrangement. Repeated placement gives a stronger reason to preserve an orientation than one pleasing combination found during sorting.
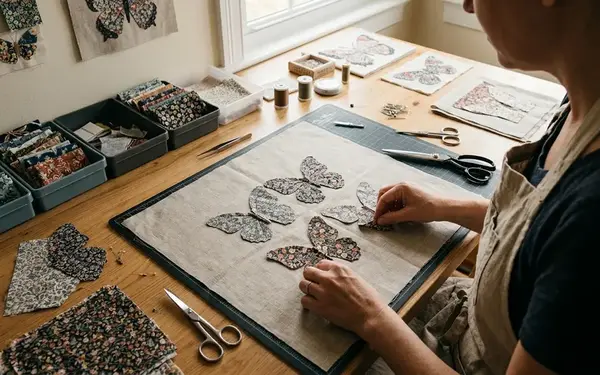
This is where Fussy cutting becomes a practical guide to reconstruction. Keep related petals together, rotate loose striped shapes, and photograph promising arrangements before shifting the pieces again. The cutting choices can tell you which shapes belong together even when the joining fabric has disappeared.
Give Nineteen Rosettes a Deliberate Boundary
With nineteen surviving rosettes, audition one central rosette, a ring of six, and an outer ring of twelve. This gives the inherited group a clear medallion structure. Establish its dimensions from the actual arrangement and connector spacing before planning the surrounding fabric.
When the original bridging cotton runs out, compare two approaches directly on the table. A quiet contemporary solid makes the new work visibly distinct. A tonal blender draws less attention to the connectors and lets the vintage flowers lead. Place each candidate beside both the palest and darkest rosettes, then step back.
Choose the background only after the motif arrangement feels settled. Otherwise, a convenient piece of new yardage can end up dictating how you rotate the original maker’s careful cuts.
Make New Cotton Behave Gently at Old Seams
Prepare replacement cotton separately. Wash and rinse it using the intended future care method, then dry and press it before cutting. Keep the inherited pieces out of that preparation.
Compare flexibility by folding each fabric over a finger. Look for replacement cotton that bends comfortably beside the softened vintage cloth, rather than judging compatibility from color alone. Do not pull the two fabrics against each other as a strength test.
Trial the Needle, Thread, and Tension Together
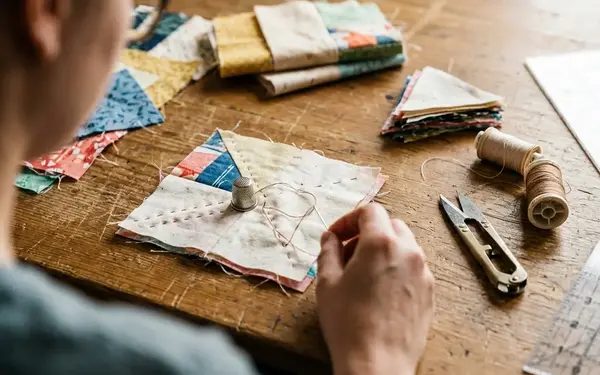
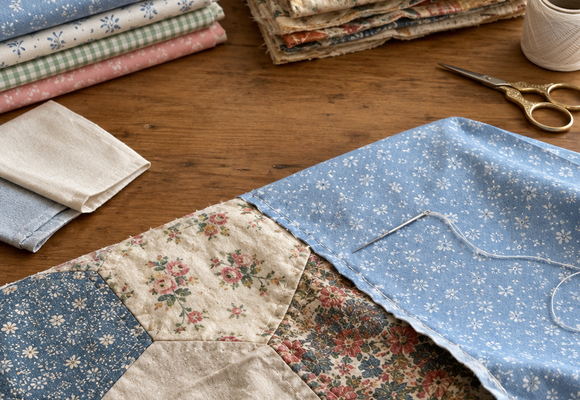
Try fine 80wt cotton with a size 10 or 11 milliners needle on replacement scraps first. Needle sizes vary between manufacturers, so examine the actual shaft and eye. Choose a combination that passes through the test seam without needing a forceful push.
Use approximately 30–40 cm of working thread. A short length reduces the repeated abrasion of dragging a long thread through every stitch. Fine thread still needs a gentle hand: tightening it hard can concentrate pressure at the stitch holes.
For either whipstitch or flat-back stitch, align the corners first. Distribute a slight mismatch along the edge instead of stretching vintage cotton to meet a precision-cut modern paper. Draw each stitch snug enough to bring the edges together, then stop pulling.
After several stitches, open the join and lay it flat. Check for puckering and enlarged needle holes before continuing. Keep perimeter papers in place until their adjoining shapes have been sewn; remove enclosed interior papers while supporting the seam rather than tugging against it.
Complete Three Missing Petals Without Pulling Two Frayed Edges Apart
Set your Grandmother’s Flower Garden rosette face down on a padded support. It has three missing outer petals, two frayed seam edges, and a rusted basting pin. Keep the remaining papers in position and work through the repair in this order.
-
Support both frayed allowances before touching the pin. Slide a small piece of lightweight woven backing beneath each damaged allowance. Secure the backing through adjacent sound cloth, keeping the pin area accessible. Support the cloth immediately around the pin and withdraw it along its entry path, avoiding a sideways drag through the frayed yarns.
-
Copy the inherited paper’s actual shape. Trace an accessible loose vintage hexagon paper onto fresh cardstock without flattening a brittle fold. Mark its orientation, then cut three replacement papers from that same master. A standard 1-inch hexagon paper measures 1 inch along each side; its label does not describe the overall width. Copying the original keeps this repair tied to the rosette’s existing geometry.
-
Cut the three replacement petals. Use the washed, dried, and pressed reproduction cotton chosen beside the rosette. Position the floral motif consistently around the replacement papers, following the corner relationships already visible in the surviving petals. Leave approximately 1/4–3/8 inch of seam allowance and baste securely. Preserve the inherited allowances at their existing width.
-
Place all three petals before joining the first. Check their motif orientation against the surviving ring. Bring the first replacement into position and align both corners of its joining edge. Keep the backed frayed allowance supported as you handle the assembly.
-
Sew, open, and inspect each join. Use the fine needle and thread combination already trialled on scraps. Take several gently tensioned stitches, lay the join flat, and inspect the stitch holes. Continue around the missing section, distributing small edge differences without pulling the old cotton toward the new paper.
-
Return the repaired rosette to the medallion. Leave its outer papers in place for the neighboring connectors. Set it back into the nineteen-rosette arrangement with its flowers facing the direction recorded in your layout photograph. Photograph the repaired front and back with its identifying slip, then position the next connector against the supported edge.