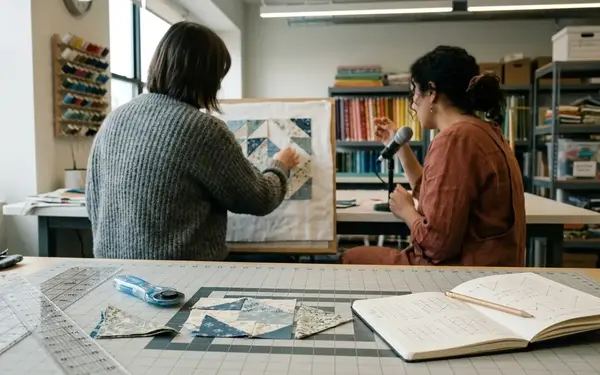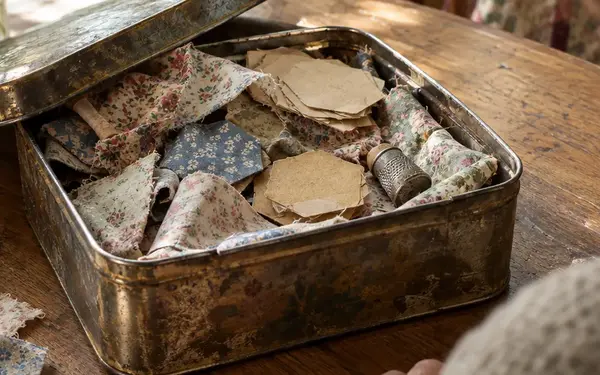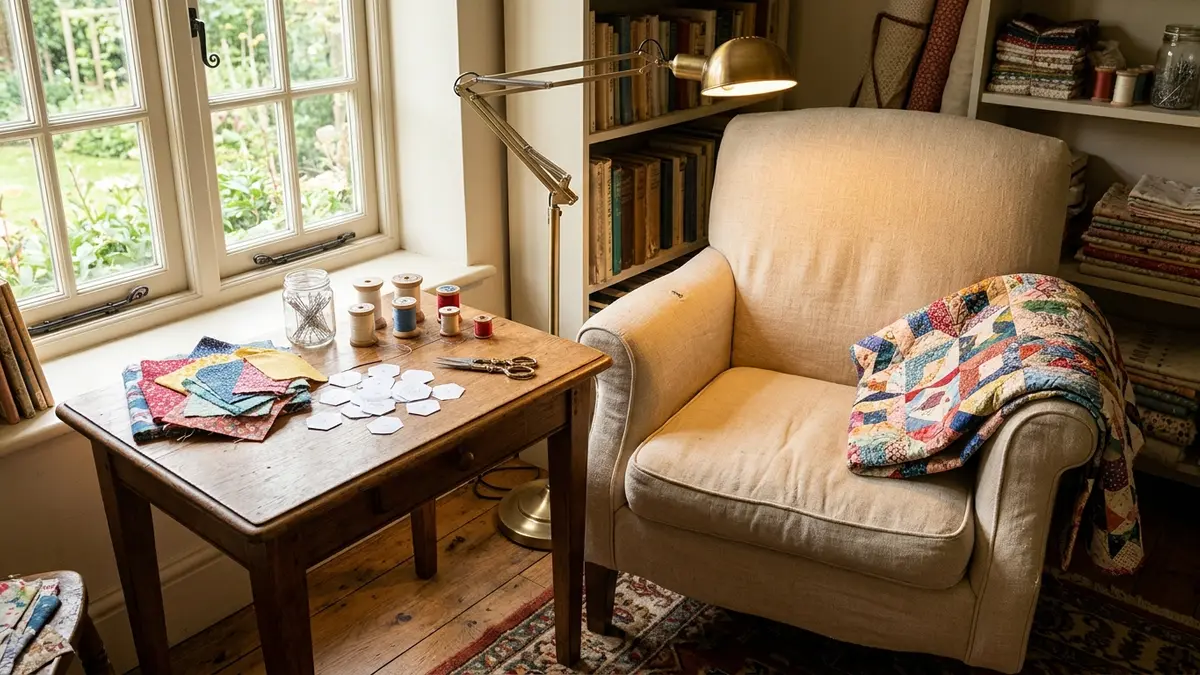
A comfortable hand-stitching setup aligns four physical variables: seating posture, forearm elevation, directional task lighting, and session pacing. When you balance these elements, you can fussy cut, baste, and join English Paper Piecing (EPP) units without building tension across your neck, shoulders, or wrists. Four specific adjustments do the heavy lifting in daily handwork:
- Elevate the sewing area: Prop your forearms on firm pillows to bring the fabric toward your line of sight, aiming for a shallow downward glance while keeping your shoulders dropped.
- Direct your task lamp: Position a focused, daylight-balanced lamp slightly behind and over your non-dominant shoulder so your needle hand never casts a shadow across the seam.
- Support joined fabric bulk: Rest the dangling weight of growing quilt blocks on a side surface so gravity does not pull against the fingers pinching the paper templates.
- Pace your stitching intervals: Tie physical breaks to concrete construction milestones rather than sewing through stiffness.
Four Core Adjustments for Strain-Free Hexagons (And Our Episode Breakdown)
Grab a cup of tea, settle into your sewing space, and pull out your current project. We built this written guide as a hands-on companion to our latest podcast episode with a longtime EPP instructor. While you listen to the conversation, use the checkpoints below to audit your own sewing corner in real time.
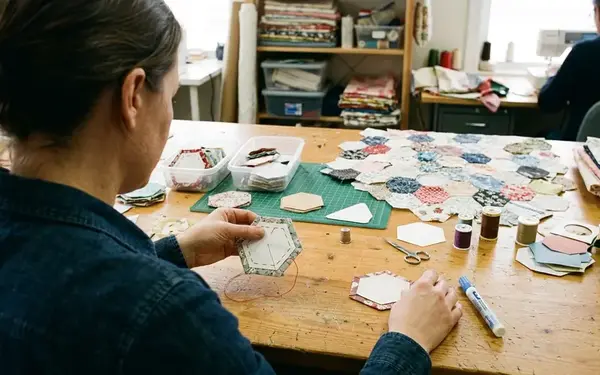
Do not test your posture empty-handed. Empty hands lie about how your body behaves when you are trying to align two tiny, fussy-cut motifs. Before you evaluate your chair or lamp, pick up one pre-basted hexagon, clip two paper-backed edges together, and thread a needle. Your setup check only counts when your fingers are actually holding a seam in position.
Think of your workspace as a structural load path. When we assemble geometric tessellations in fabric, small alignment errors compound across a block. The human body works the same way during handwork. We follow what I call the rosette-support chain: supported feet lead to resting elbows, which bring the fabric fold into clear view, while slack joined-top fabric allows a lighter template pinch. If one link drops out of place, the muscles in your neck or thumb base absorb the extra mechanical load.
Eliminating the Stitcher's Slump and Supporting Heavy Quilt Blocks
Watch what happens the moment your needle approaches the folded edge of a hexagon. For most quilters, the chin drops toward the chest while the upper back rounds forward to meet the lap. That classic stitcher's slump happens whenever your work sits at waist height and your eyes have to travel down to find the seam. Bring the fabric up to your eyes instead of dropping your head down to the fabric.
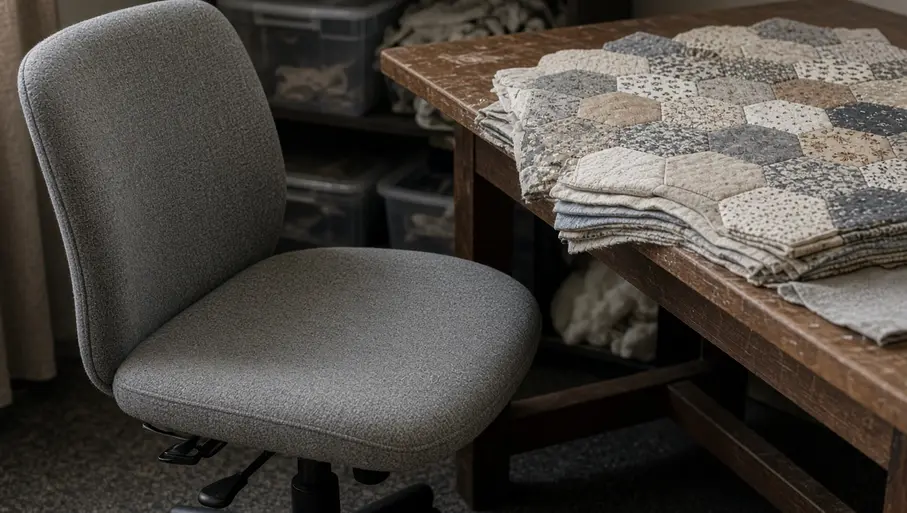
Building a solid base under your arms stops that downward drift immediately. In our podcast discussion, we walked through three reliable propping materials: a dense nursing pillow wrapped around the waist, a hard-topped lap desk with a padded underside, or a stack of folded wool blankets tucked beneath both elbows. Wool blankets are particularly useful because you can calibrate the height in small increments. Add or remove one folded blanket layer at a time, then sew a two-to-three-minute test seam before changing the height again. Treat this short seam as a practical fitting exercise to check whether your chin drops, either shoulder lifts, or your elbows drift off their supports.
Check your wrists while your elbows rest on the props. Your forearms should stay roughly parallel to the floor with your shoulders relaxed. If you use a rigid lap desk, place a soft quilt folded over the edge so you never press your inner wrists against a hard border.
Joined Rosette Drag Check
Never let a growing EPP panel hang off the edge of your lap. Before turning a joined block to stitch the next side, gather all the hanging fabric onto your support cushion and rotate the whole supported bundle at once instead of pulling the heavy top around with your thumb-and-forefinger pinch.
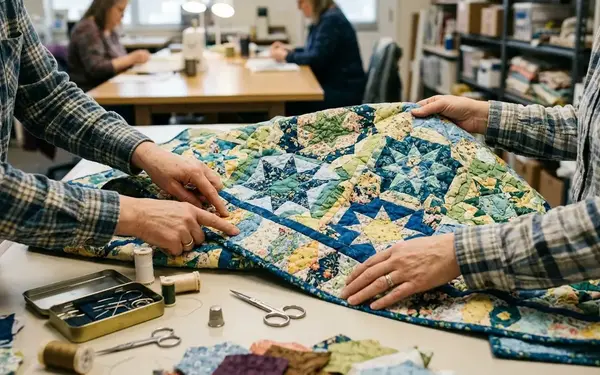
Setup mechanics change drastically as a project grows from palm-sized hexagon rosettes into a heavy, lap-sized quilt top. A single rosette weighs almost nothing. In the neighborhood of twenty joined rosettes create pendulum drag. If that extra yardage hangs over your knees, gravity pulls downward on the exact spot where your non-dominant hand is trying to hold two cardstock edges flush. Stage a side table to your left (or right, if you stitch left-handed) or drape the excess quilt top over the broad arm of your sofa. Give the joined fabric slack so your fingers only hold the active two-inch seam.
Positioning Task Lighting to Spot Tiny Stitches Without Glare
Overhead room fixtures rarely give you enough contrast to spot an 80wt thread sinking into the fold of a fussy-cut cotton print. Keep your ambient room lighting switched on for general visibility, so you are not staring into a bright tunnel surrounded by a dark room, and add a dedicated task lamp to reveal the exact crease where the needle enters the fabric.
Lamp geometry matters just as much as bulb brightness. If you place a light directly in front of you or over your sewing hand, your moving fingers and needle will cast a constant shadow directly across the paper template edge. Follow these steps to lock in the angle:
- Position your task lamp slightly behind and over your non-dominant shoulder—over the left shoulder for a right-handed stitcher, or over the right shoulder for a left-handed stitcher.
- Set the adjustable lamp head roughly 30 to 45 cm away from the active seam.
- Make several normal whipstitch or flat-back stitch movements with your needle and watch the fabric crease; tweak the arm of the lamp until your hand's moving shadow clears the join completely.
- Tilt your paper-backed unit slightly back and forth under the bulb. If you see a shiny, reflected hotspot sliding across the cotton or jumping off the paper edge, adjust the lamp angle or add a frosted diffuser over the LED array.
For evening stitching sessions, a daylight-style LED bulb in the 4000 to 5000 K range makes a solid starting point. Keep in mind that color temperature only describes the visual warmth or coolness of the light beam rather than its brightness or color rendering accuracy. Because thread-weight labels are not standardized across every manufacturer's range, test both your 60wt and 80wt threads against dark background fabrics under the lamp before you commit to a long session. What looks crisp against a pale floral motif can vanish into navy quilting cotton if your lamp sits on the order of ten centimeters too far back.
Adapting Your Stitching Kit for the Couch, Cutting Table, or Travel
Most of us do not stitch in a single, dedicated studio chair every night. We migrate from the living room couch to the dining table, or we pack a zipper pouch for a train ride. Whenever you switch seats, fit the workspace from the seat outward rather than piling pillows onto a bad foundation.
Deep living room sofas are the most common trap for patchworkers. If a plush sofa cushion is deeper than your thigh bone is long, sliding all the way back leaves your calves suspended in midair, while putting your feet on the floor makes your lower back collapse into a C-curve. Always assess seat depth before adding lap height; a taller pillow stack on your knees will not fix a seat that leaves your spine unsupported. Wedge a firm cushion behind your lower back so your pelvis stays anchored against a solid surface, and slide a low footstool under your heels if your feet still dangle.
Stitching at a dining table or cutting table flips the problem. Hard chairs placed against high tabletops often force you to shrug your shoulders toward your ears or bend your wrists sharply against the sharp wooden edge of the table. Adjust your chair height and foot support together first, and pull your body close enough that your elbows rest comfortably on a folded mat without winging outward.
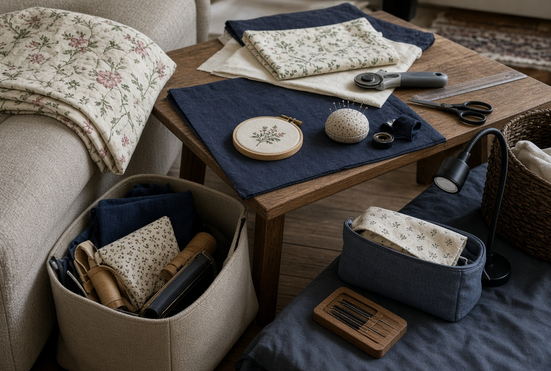
When you take your fussy cutting on the road, turn a stiff-sided project pouch into a miniature workbench on your lap. To prevent constant trunk rotation or forward leaning in any of these spots, stage your tools in three compact zones directly in front of your torso: keep your active seam and needle in the center, stack your pre-basted shapes right beside it, and group your snips, clover clips, and thread gloss inside a shallow tray. Test your reach with your upper arms relaxed against your ribcage. If grabbing your snips forces you to twist toward a low coffee table, bring the tray closer. In the zipped travel pouch, needles sit inside a closable wool felt needlebook, and a point protector covers the scissor blades.
| Check | Dedicated Sewing Chair | Shared Living Room Sofa | Portable Travel Kit |
|---|---|---|---|
| Seat and feet | Set chair height with feet supported and shoulders relaxed. | Add a firm back cushion to reduce effective seat depth; place a footstool under feet if needed. | Use a folded coat, bag, or footrest to stabilize feet and knees before raising the work. |
| Arm and fabric support | Support both elbows on matched cushions or armrests with the joined block resting on a lap pillow. | Build elbow support with folded blankets; drape extra quilt bulk over the sofa arm or side surface. | Rest a stiff project pouch on the lap and work on small motifs or single rosettes. |
| Light and tool reach | Aim a diffused task lamp over the non-dominant shoulder; keep tray tools directly in front of the torso. | Move a floor or clamp lamp behind the non-dominant side; avoid reaching down to a low coffee table. | Choose a window or overhead reading light and keep only active shapes, thread, and covered snips open. |
Pacing Your Sessions and Softening the Paper-Template Death Grip
Even a textbook chair setup breaks down if you lock your joints into a static posture for three straight hours. When you are centering a fussy-cut kaleidoscope star, time disappears. Instead of relying on willpower to stop, tie your physical breaks to visible construction milestones inside the block itself.
Make a habit of pausing every time you complete two joined hexagon edges or reach the end of your current length of thread. When you hit that mark, lay the rosette down on your cushion, uncurl your fingers, and let both hands drop completely open for a minute. Because an absorbing print or an extra-long strand of thread can easily erase that natural pause, set a quiet timer as a backstop. An interval of 15 to 25 minutes of stitching followed by a 1-to-2-minute change of position works well as an initial pacing experiment to see how your hands respond.
During those micro-breaks, check the pressure in your non-dominant hand. Many stitchers develop a white-knuckle death grip on their cardstock templates, clamping the paper between thumb and forefinger as if the cotton might try to escape. That constant isometric pinch quickly fatigues the base of the thumb. To recalibrate your grip pressure, rest the bottom edge of the rosette directly on your lap pillow so the cushion bears the weight of the block. Slowly loosen your thumb-and-forefinger pinch until the two paper edges almost slip out of alignment, then add back just enough finger pressure to keep the folded seams kissing while your needle passes through.
The Ten-Minute Posture Audit
Ten minutes into your sewing session, pause with your needle in the fabric and ask yourself five questions:
- Are my shoulders creeping up toward my ears?
- Am I squinting to see the exact fold of the fabric?
- Is my non-dominant wrist bent inward while holding the rosette?
- Is any joined fabric hanging unsupported from my pinching hand?
- Can I loosen my thumb and forefinger by half without the paper edges separating?
Where General Setup Advice Ends and Personal Anatomy Takes Over
Standard ergonomic workstation positioning guidelines give us a reliable starting framework, yet hand sewing introduces personal variables that no universal checklist can predict. A setup adjustment that relieves a downward neck hunch for one quilter can trigger a brand-new strain for another.
Consider what I call the raised-hexagon boundary: lifting a rosette on tall pillows can ease a downward hunch yet tip the head backward when its seam moves outside a progressive lens's near-work zone. If you wear bifocals or progressive eyeglasses, your near-vision focal corridor sits in the lower portion of the lens. Raising your lap pillow too high forces you to tilt your chin upward to peer through the bottom of your frames, compressing the back of your neck. Always check the fabric seam through the exact part of your glasses you use for close work, and adjust the pillow stack until your head stays level.
Your preferred EPP stitch technique also alters your working geometry. Traditional whipstitching usually encourages you to hold the two paper pieces edge-to-edge upright or angled toward your chest, whereas the flat-back stitch lets the templates lie flatter against the supporting cushion while your needle skims the top fold. Whenever you change eyeglasses, switch between whipstitch and flat-back stitch, or move from a small basted motif to a heavy joined panel, sew several test stitches with the fabric supported and recheck your head tilt, wrist angle, and elbow stability.
Pillow stacks, task lamps, and timed intervals only address setup-related muscular effort; stop stitching immediately if you feel pain, numbness, tingling, or weakness, and have any persistent or recurring symptoms evaluated by a physical or occupational therapist.
Press play on the episode queue. You tuck a folded wool quilt beneath both elbows, settle your heels onto the footstool, and angle the brass reading lamp over your left shoulder until its warm pool catches the tiny fussy-cut bee at the center of your hexagon rosette. Your thumb softens against the paper edge, the needle catches a single thread of the fold, and you take your first unhurried stitch of the evening.