Why Strict Boundaries Create the Best Shared Quilts
Round robin quilts are not an exercise in surrendering control to chaos; rather, they are masterclasses in collaborative design where strict, predefined boundaries actually breed the highest level of creative freedom. When multiple hands touch a single English Paper Piecing (EPP) project, the magic happens within the constraints. Knowing exactly what is expected allows each participant to dive deeply into their fabric stash and fussy cut with absolute confidence.
A successful EPP round robin relies on three firm rules. First, the group must enforce a rigid timeline to maintain momentum. Second, every participant must show absolute respect for the starter block's color theory and focal motifs. Finally, the physical blocks need careful packing to survive months of transit.
Mandatory Pre-Flight Alignment
If a group cannot agree on a unified Travel Journal system and a firm mailing deadline before the first stitch is cast, the project should not begin. Put the mailing date, permitted colors, prohibited prints, and the next recipient’s address in the journal before the center is even stitched. Use one shared location log alongside the physical journal, updating it at every single dispatch and receipt.
Establishing Maker Roles and Rotation Schedules
Every successful rotation requires clear roles. The Center Maker establishes the initial motif, the template scale, and the foundational color relationships. Border Makers then take on the responsibility of expanding the design outward while preserving those original decisions. To keep the logistics running smoothly, a Project Captain—usually the Center Maker—sets the route and monitors the shared location log. This oversight ensures a late parcel is noticed immediately, long before the next maker’s sewing window disappears.
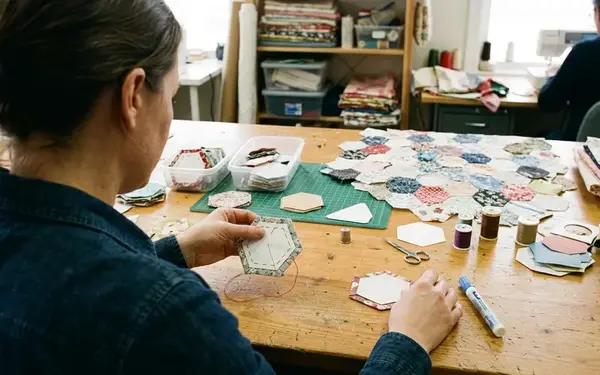
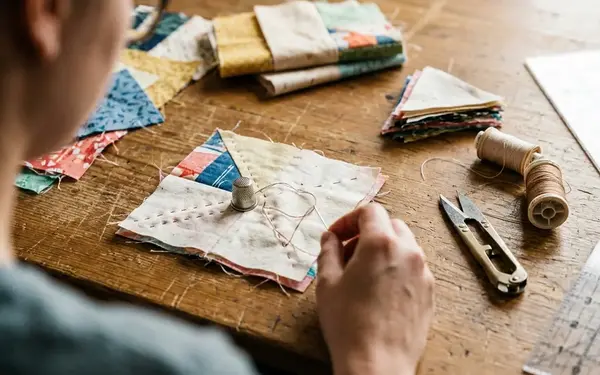
Intricate fussy cutting takes time, especially when matching complex geometric tessellations. Assign each maker a 4-to-6-week work window. This provides enough breathing room to audition fabrics, baste templates, and execute tiny whipstitches without stalling the project's overall momentum.
Life events and postal delays are inevitable, so building buffer weeks into the master schedule is essential. Add a one-week transfer buffer after each sewing window. For four makers, four 4-to-6-week work windows plus four one-week transfer buffers produce a 20-to-28-week plan through the return to the Center Maker. Record each recipient’s shipping address and deadline before the first parcel leaves, and confirm the address again before every handoff.
Navigating Fussy Cutting Boundaries and Maker Vision
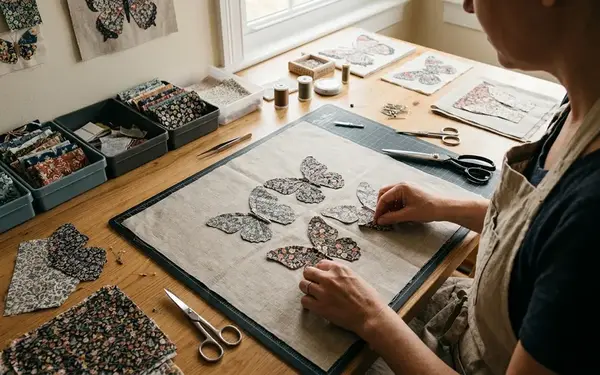
Adding a border to someone else's fussy-cut center requires a strict "do no harm" approach. Subsequent makers must analyze the starter block's motifs and ensure their additions frame the center rather than overpower it. Before basting a border, lay the proposed fabrics around the starter block. Check whether the focal motifs remain the very first thing the eye finds.
The Travel Journal—a physical notebook shipped with the EPP block—is the primary tool for communicating these boundaries. The Center Maker records hard exclusions here. A journal entry can say "no novelty prints; no neon; keep the floral center dominant" and clearly identify which motif the maker has fussy-cut. Each Border Maker then uses the journal to record the shapes, fabrics, and specific reasons for their design additions.
Preserving the Core Motif
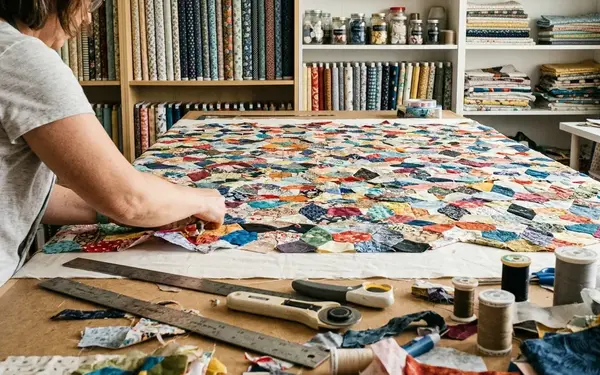
Examining the complex medallion structures developed by Willyne Hammerstein, author of Millefiori Quilts, highlights a vital construction principle: as the medallion grows, move toward larger framing shapes rather than repeating tiny, visually exhausting pieces. Test the next round at full size against the existing outer edges, then choose templates whose joining edges match those already sewn.
While historic, in-person quilting guilds often successfully ran circles of close to 12 people passing work hand-to-hand, modern remote EPP robins require tighter limits. Set a 4-to-6-maker cap to maintain design cohesion, keep the visual narrative readable, and minimize the number of parcels at risk in transit.
Transit Protocols for Fragile Paper-Pieced Blocks
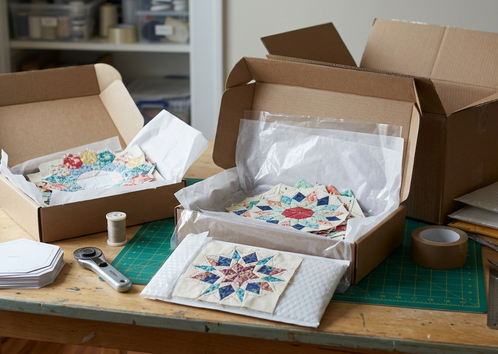
Shipping partially completed EPP blocks introduces unique structural risks. Paper templates must remain inside the fabric during transit. Removing the papers too early leaves unsupported seam allowances that can easily pull the block out of shape during handling.
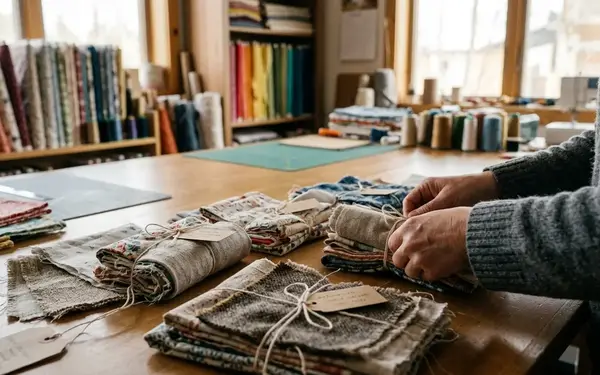
Let the work lie flat. Enclose the block and the Travel Journal in a waterproof internal sleeve to protect against weather exposure. Place both items in a rigid mailer or a shallow project box to prevent crushing during heavy postal sorting. Choose a mailer large enough for the block to lie flat without folding a paper-backed point or corner. For specific packing standards, review the official guidelines for packaging and shipping valuable items.
Zero-Distortion Transit Rules
Require tracking numbers and insurance for every leg of the journey. Send the tracking number to the group on dispatch day, and confirm arrival the same day it is delivered. The Project Captain updates the location log at both points.
Step-by-Step: Executing a Four-Maker Hexagon Star Rotation
To see how these boundaries and schedules interact in practice, follow this four-window, four-buffer breakdown of a single floral project moving through a remote group.
- Maker A (The Center): Creates a 6-inch fussy-cut Hexagon Star center. They isolate a specific floral focal fabric so the same small bloom repeats perfectly around the center point. Before the first shipment, Maker A marks the floral repeat in the journal, requests a "cool-toned garden" theme, and packs the block flat.
- Maker B (The First Frame): Receives the block and auditions a deep teal fabric beside the flowers. The boundary between creative framing and overpowering the center is tested by whether the repeated floral blooms still read first after the deep-teal round is laid beside them. Maker B bastes and joins a frame of 1-inch EPP diamonds. In the journal, they record the deep-teal fabric choice, note the 1-inch diamond template size, and explain that the darker frame separates the floral points from the next round.
- Maker C (The Expansion): Reviews the journal and selects subtle leaf motifs to build on the garden theme. They choose triangles to expand the shape, carefully matching the triangle joining-edge lengths to the diamond edges they meet, rather than relying on a nominal template label. The leaf triangles are basted and attached, pushing the medallion outward while respecting the cool-toned palette.
- Maker D (The Resolution): Receives the expanded star and prepares it for its low-volume return. They design a final border that squares off the overall outline. While the paper templates remain securely in place, Maker D checks the squared-off outline with a ruler to ensure structural accuracy. They log the final fabric additions in the journal, place the completed top in a waterproof sleeve, and pack it flat in a rigid mailer for its tracked, insured return to Maker A.